With a strong position across the globe, it comes as no surprise that WordPress shares 35%. Besides being a powerful platform of creating blog website, WordPress works extremely well in creating e-commerce store, simply by integrating a WooCommerce plugin.
Now, WooCommerce is the simplest way of converting your WordPress website into a full-blown e-commerce store. You can easily set up your online store and sell products to your online customers with the support of this plugin.
Before we get started, let’s flick through a few reasons why WooCommerce is a globally accepted plugin to build a dynamic e-commerce websites:
- You can get started for free – zero investment cost
- It is easily compatible with WordPress
- You can take a simple tutorial and build your store all by yourself
- It works well with all themes of WordPress
There are not enough words to describe why WooCommerce is perfect for building an e-commerce store, let’s just say you won’t be disappointed.
Let’s understand the kind of services and products that can be sold with this plugin:
- Physical products (Clothes, electronics)
- Digital products (Software, games)
- Your time (professional advice, appointments)
- Tickets (concerts, public events)
Basically, anything that has a price tag can be sold on your website with this plugin, be it a subscription, a membership, fashion and much more.
In this post, we will be discussing how you can go about building your e-commerce website by using WordPress and WooCommerce. Let’s get started:
#1 Register a domain
If you have already a WordPress website, then you can skip this step. Your WooCommerce plugin can be installed on your existing WordPress website.
If you are building a website from scratch, then you will need a domain before you sign up with WordPress. You can buy your unique domain address from numerous websites that will charge a small commission.
A simple example of a domain is www.yourstore.com. It advisable to go with a domain name that defines your business or is exceptionally exclusive, something that a customer will never forget.
The next step under this section involves getting in touch with web hosting company. Your web hosting partner will secure your website on a protected server. The cost of hiring a web hosting company usually starts from USD 2/month.
There are many web hosting companies you can choose to host your website on. WordPress users however should look no further than WP Engine.
WP Engine is a managed WordPress host serving other 90k customers across 140 countries. It offers hosting services designed to perform optimally in a WordPress environment. Besides offering blazing fast website speed, WP Engine also secures WordPress websites from malicious cyberattacks.
#2 Sign up for WordPress
With the second step, you can start the journey of building a WordPress website. The process is extremely easy.
Simply start by launching www.wordpress.org. It’s a simple 2 step process. The first step involves entering your website URL.
- Enter your domain address.
- Click on “Use a domain I own”.
Now, you can transfer your domain to WordPress and select from multiple plans to get started.
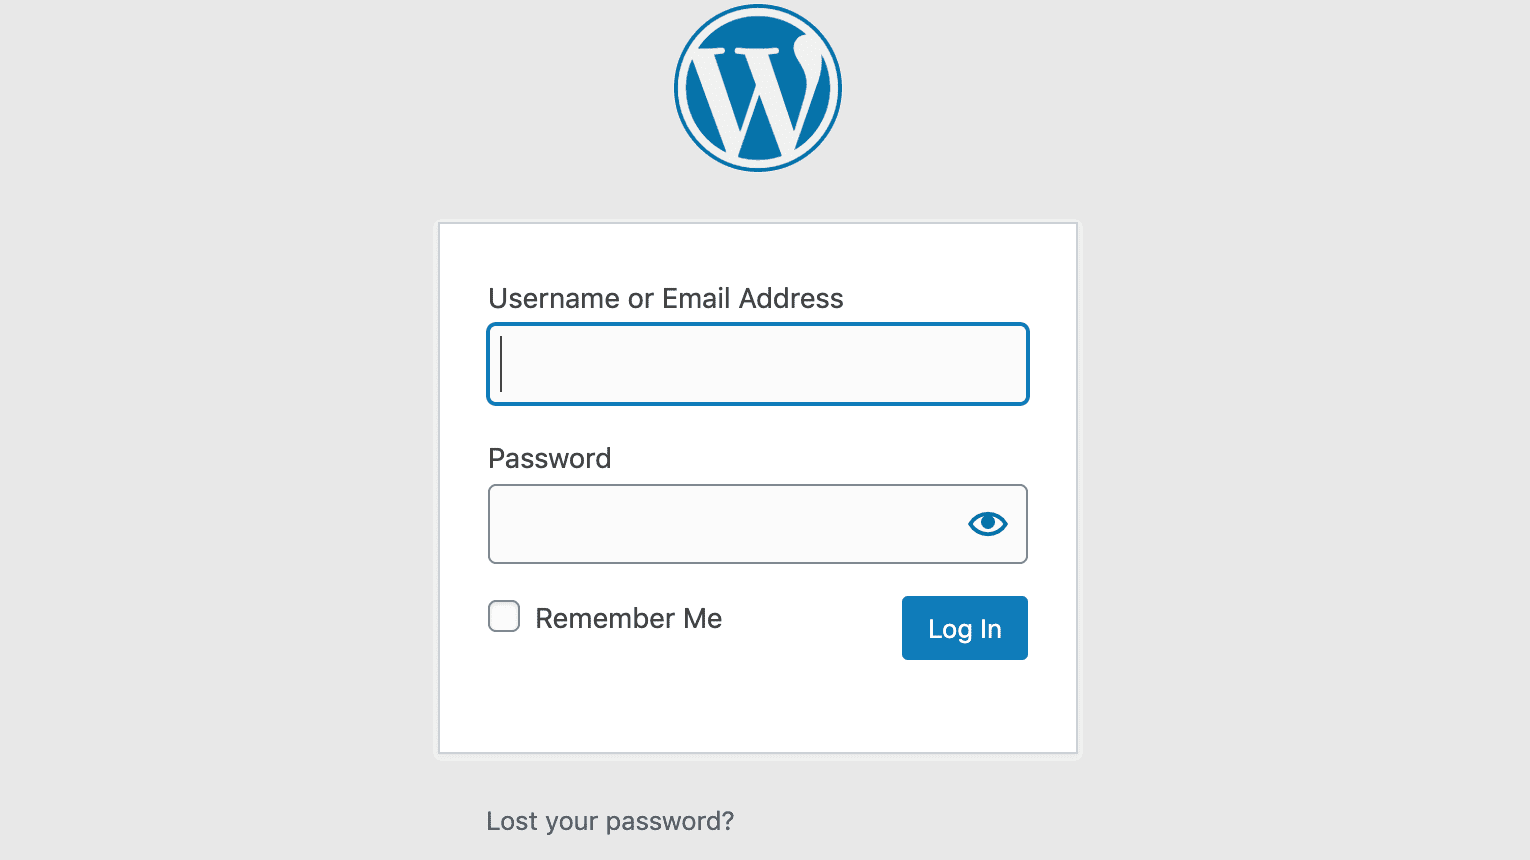
The completion of both these steps will give you access to the backend of your blank website. To populate your website, log in to your admin panel yourstore.com/wp-admin.
#3 Integrate WooCommerce
After logging in through the admin panel, you will be redirected to the dashboard of your website which is where all the action is. The dynamic dashboard of your WordPress website will allow you to integrate your WooCommerce plugin.
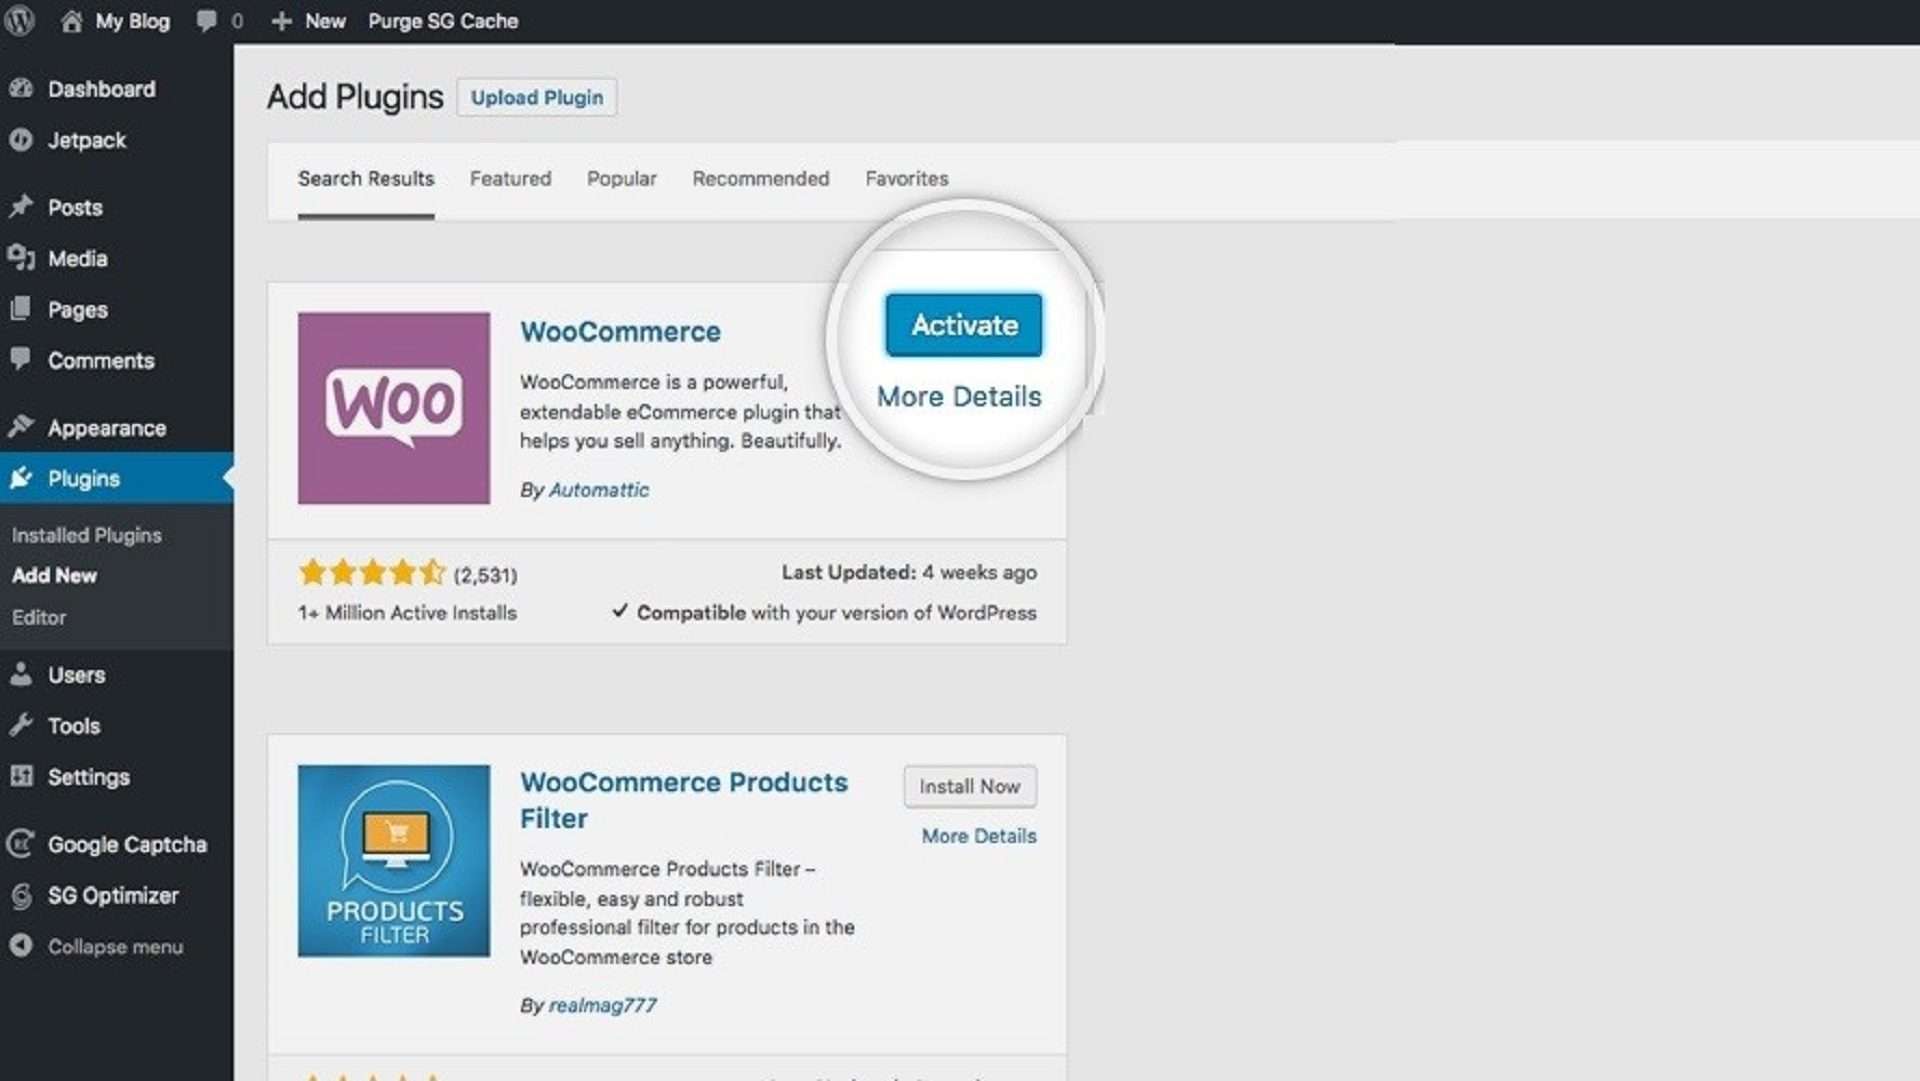
The sidebar of your dashboard will actually take you to the plugin section. Simply hover on “Plugins” to find the “Add New” option.

Upon clicking “Add New”, you can search for WooCommerce and click on the first search result to install the plugin.
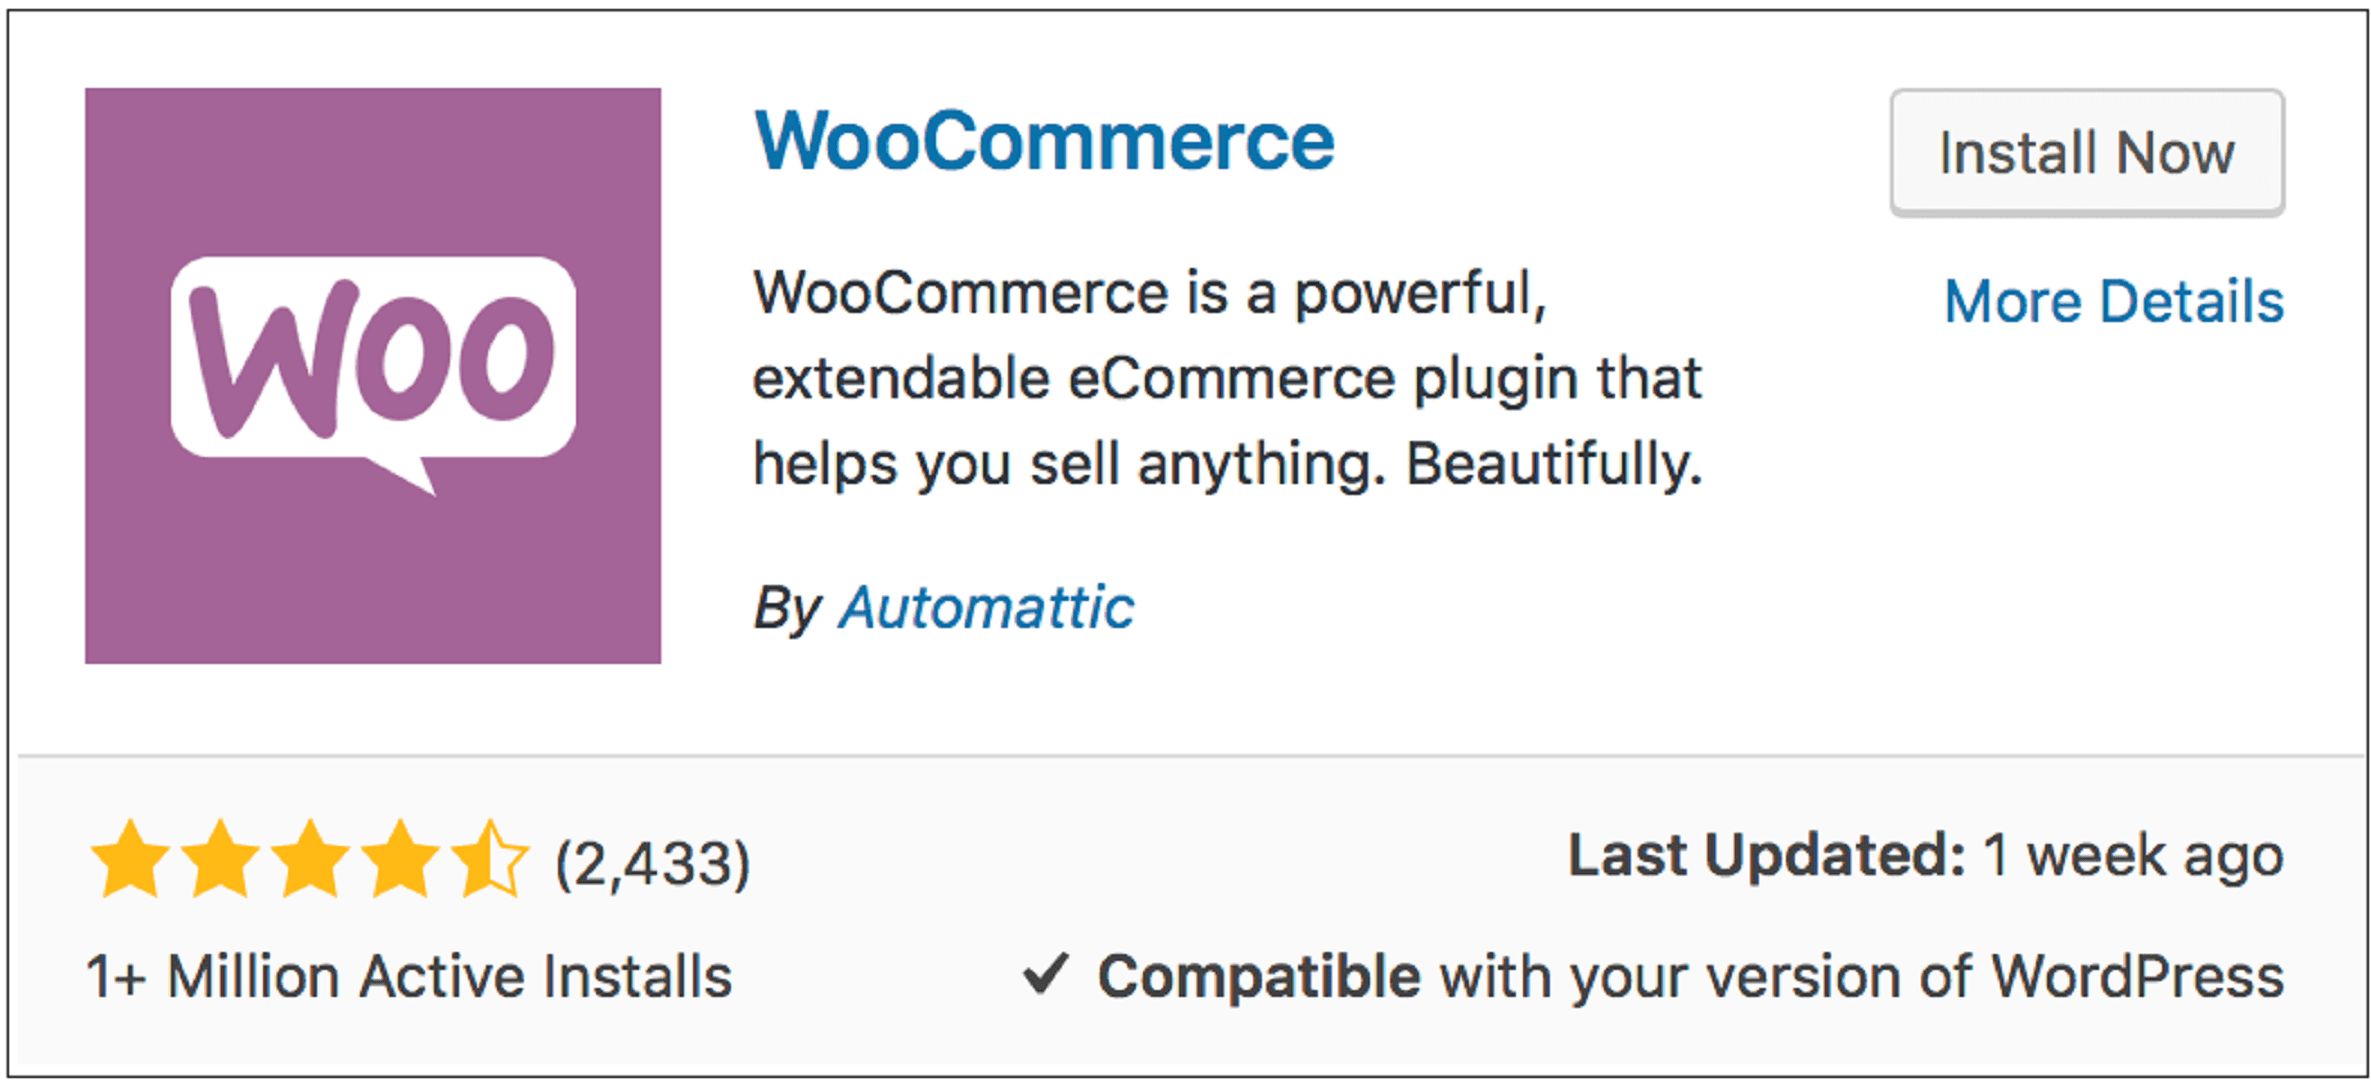
Once you click on the “Install Now” button, you will see the text on the button change to “Activate”. You know what you have to next, just click.
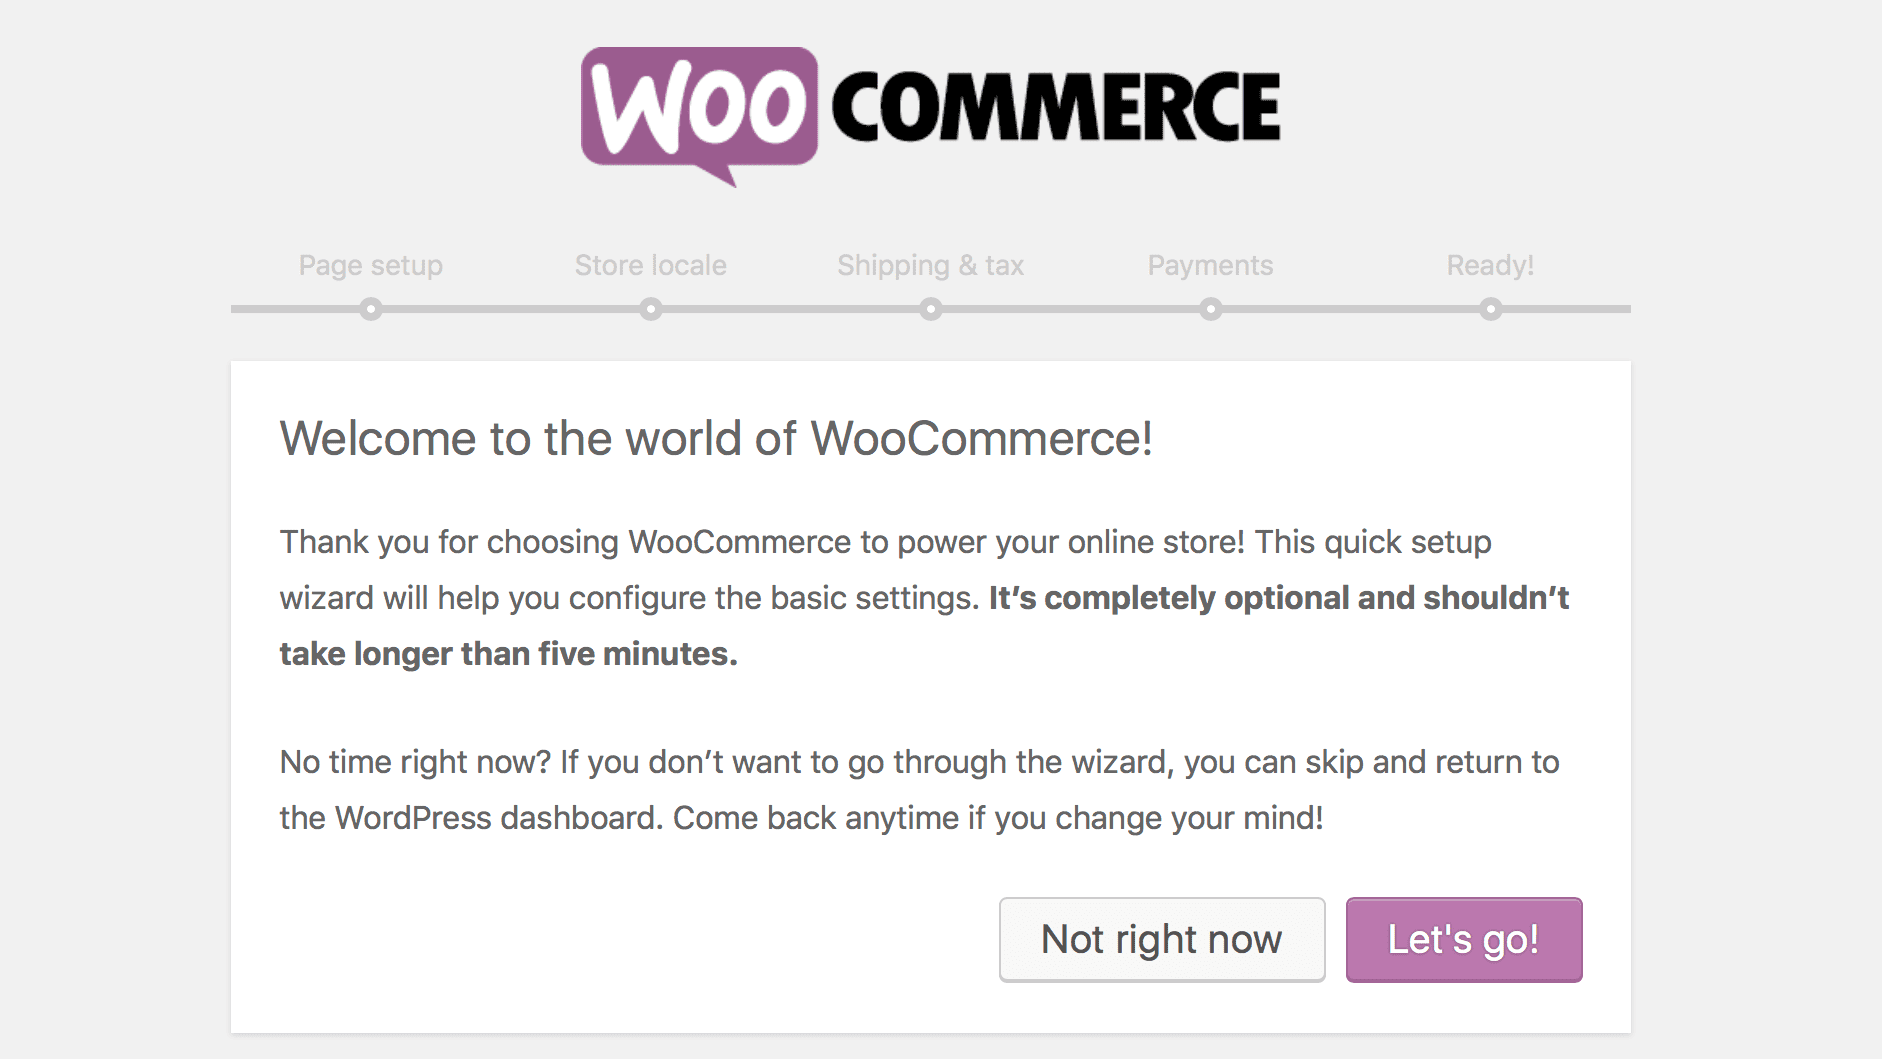
Allow WooCommerce to welcome you as a valuable customer. Click on “Let’s Go” to proceed.
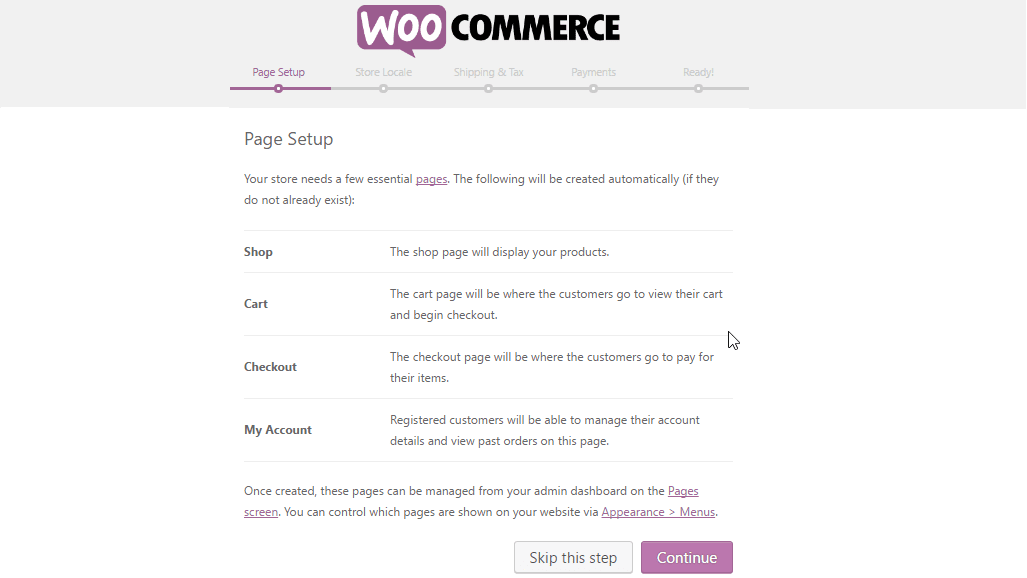
Page Setup
WooCommerce automatically realises the need to create essential pages. Without creating these pages, there is no way you can operate your e-commerce website.
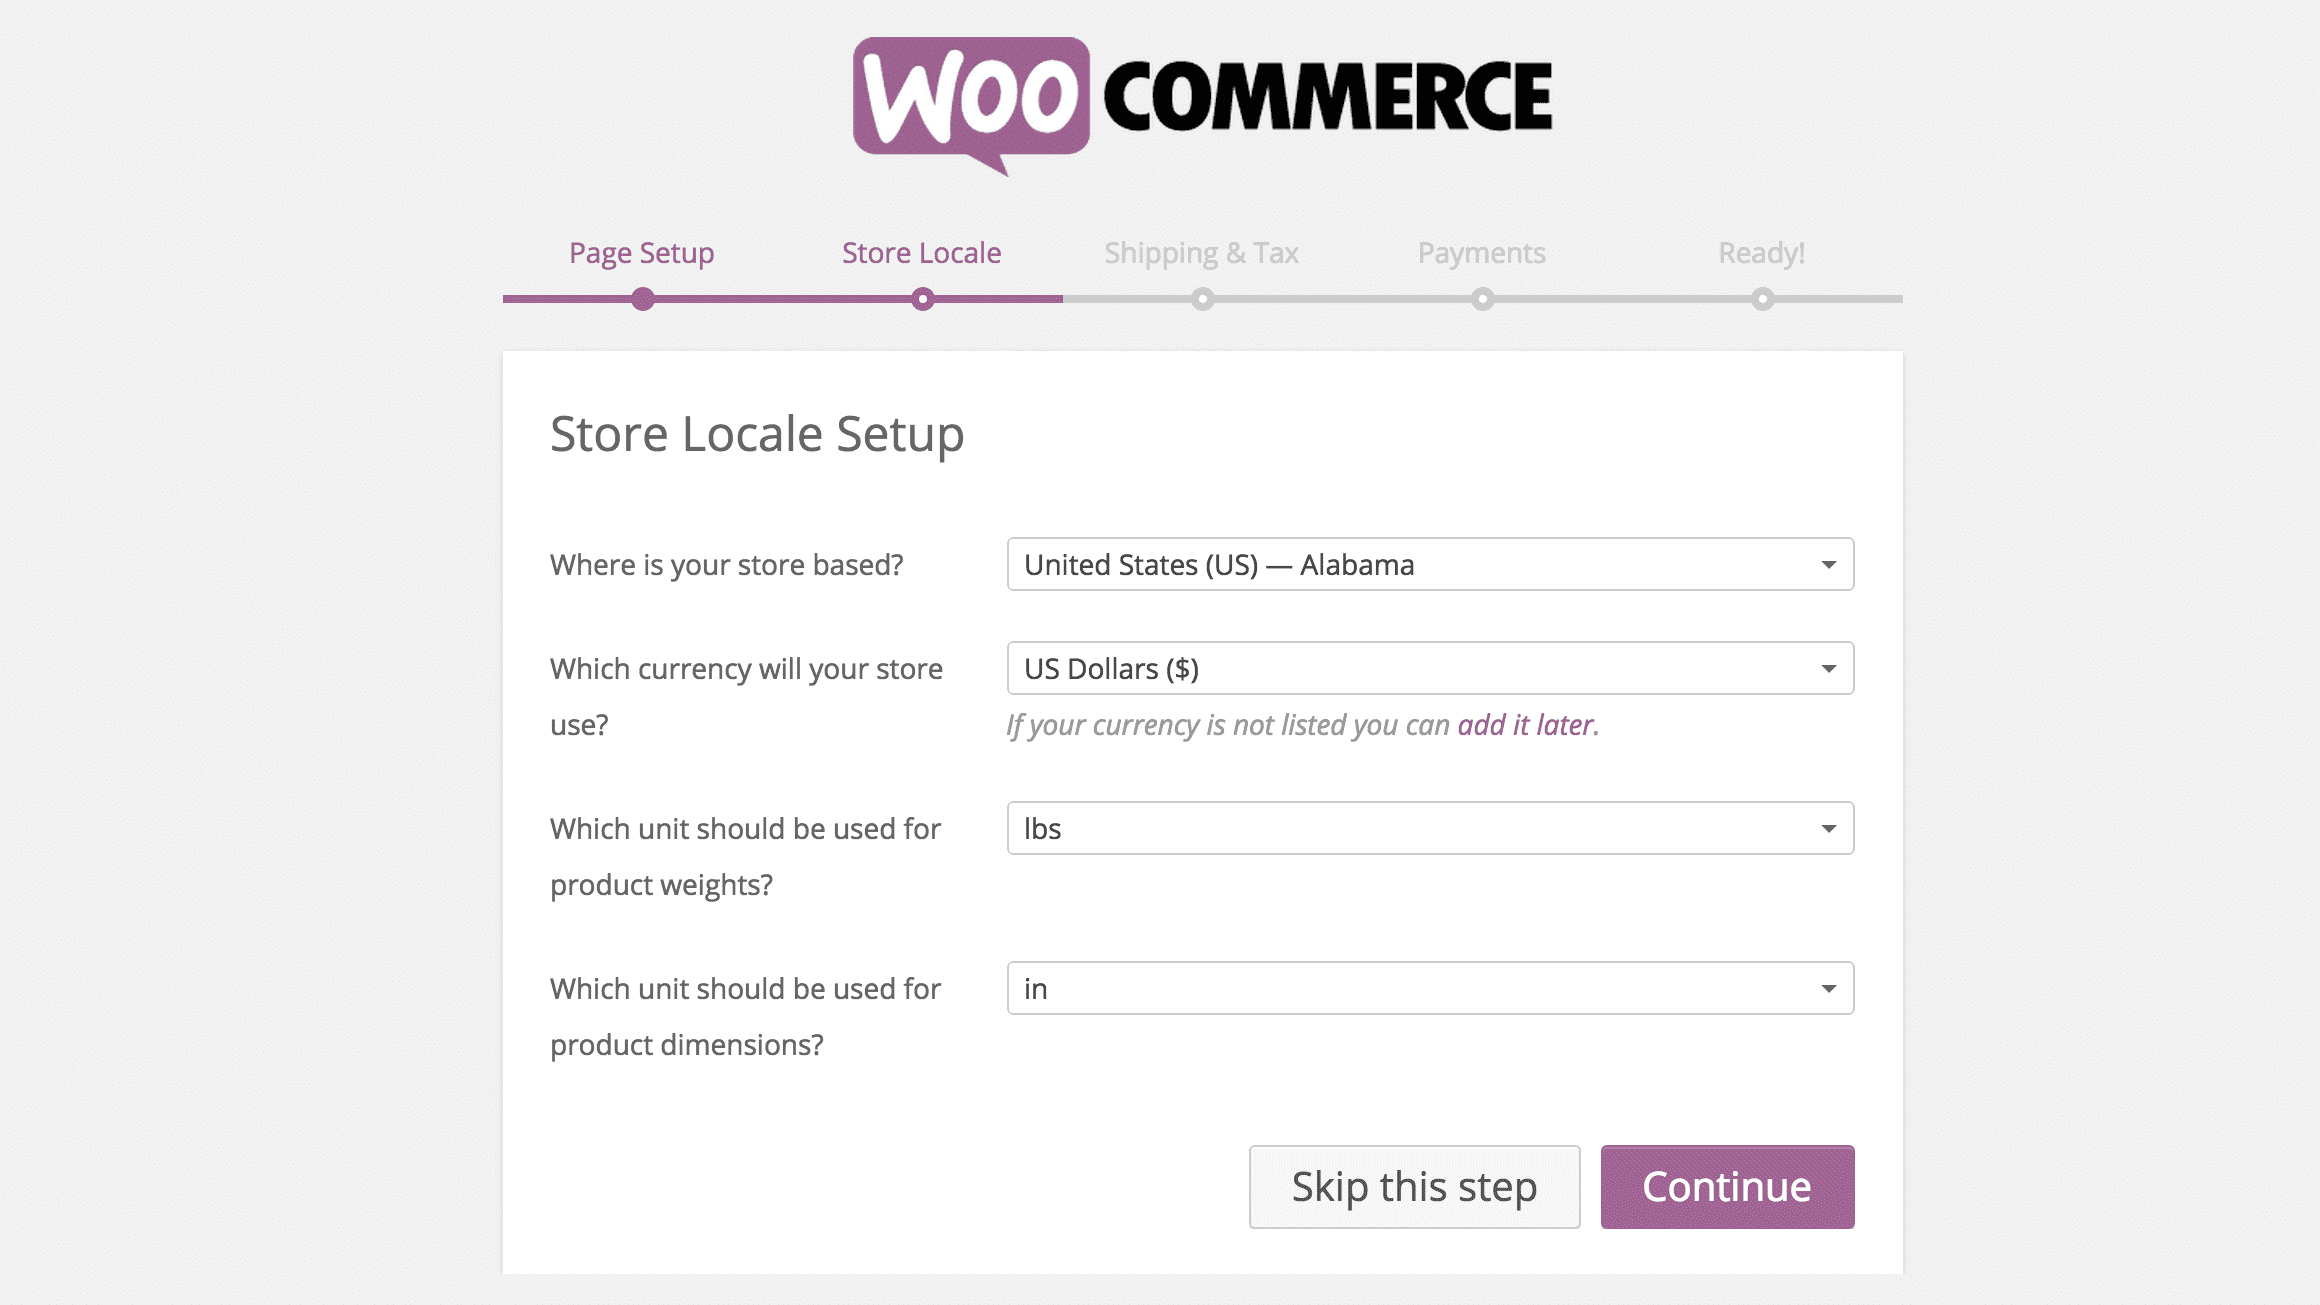
Store Locale
In this section, you can set up the location of your store, primarily areas you will be servicing to. Additionally, you can define the currency in which you want to sell, and the weight or product dimensions.
You can easily set up your taxes based on the location of your store. You can simply check the boxes that will levy on your products and click on “Continue”. If you’re not sure about the tax policies, you can take help of a professional accountant to set this up for you.
Shipping & Tax
WooCommerce is extremely handy in setting up your shipping and tax too. If you are dealing with physical goods, you can tick the box and all the details related to shipping will automatically be added to your website.
You can easily set up your taxes based on the location of your store. You can simply check the boxes that will levy on your products and click on “Continue”. If you’re not sure about the tax policies, you can take help of a professional accountant to set this up for you.
Payments
You can allow your customers to pay online through PayPal and Stripe when they shop from your e-commerce store. In addition to the online payments, you can also make offline payments available, including cheque and cash on delivery.

The most recommended ones from the entire list are PayPal and Stripe. The widespread popularity of these payment gateway not ensures customer’s payment reaches you safely but also builds trust between you and your patron.
You can introduce more payment methods and integrate them on your website. This can easily be done from WooCommerce settings.
You can simply click on “Continue” to move to the next step.
#4 Adding products
The essence of an e-commerce website lies in its products, which is what you will be doing this step. Every step that you have taken so far is to be able to sell your products digitally.
The side bar of your dashboard will allow you to manage your products, categories, tags and more. By simply clicking on “Add New”, you will be able to add as many products as you like.
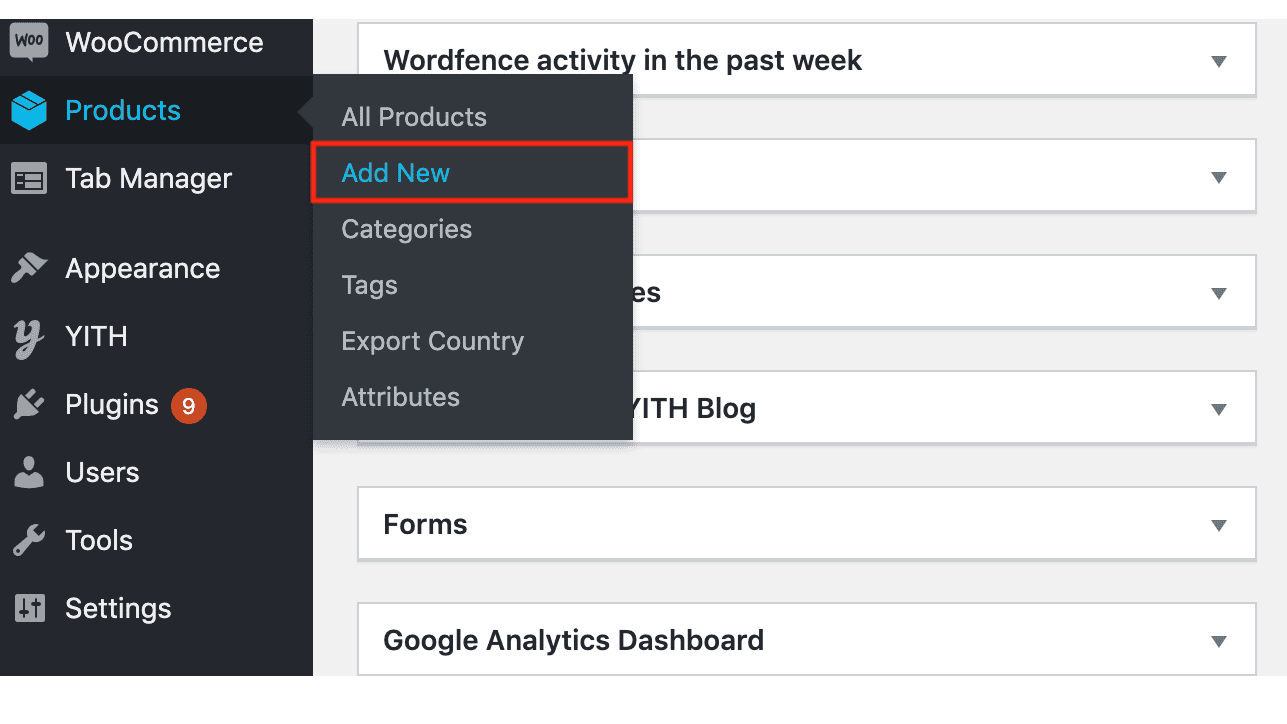
Once you click on “Add New”, you will be taken to “Add New Product” screen. This is where you can add your product by adding the following:
- Product name
- Main Description: Besides adding text to describe your product, you can add as numerous images, videos, catalogue, brochure and more
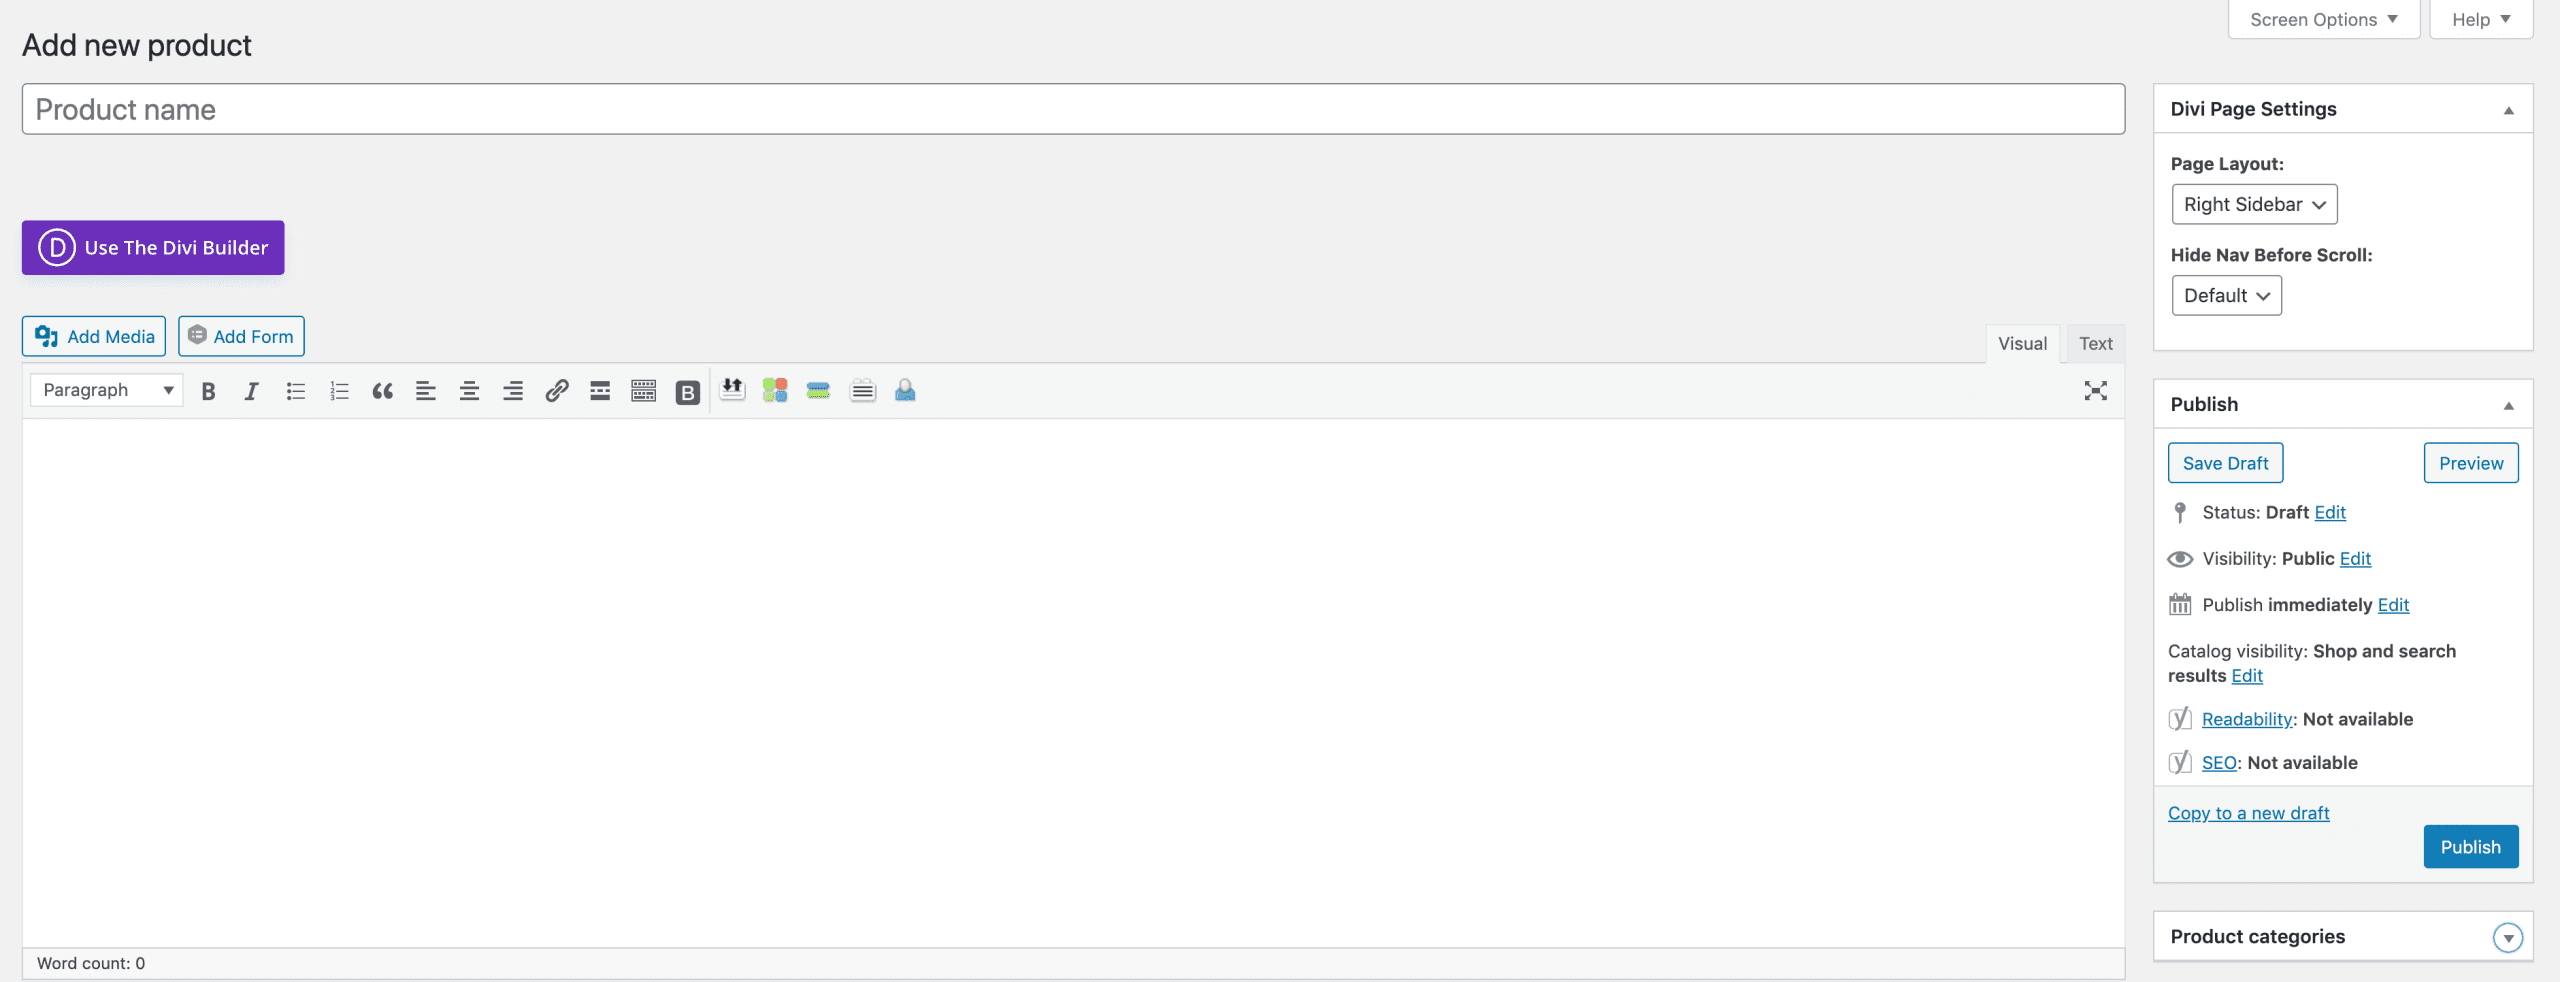
The section below is called “Product data”. As the name suggests, this section will enable you to add various details of your products:
- General: Add the price of your product, include a sale price if you’re running a promotion.

- Inventory: Add the SKU (Stock Keeping Unit), the status of its availability.

- Shipping: Define the product weight and its dimensions.

- Linked Products: Works well for cross-selling and upselling products. For instance, you will come across e-commerce website that suggest looking for related products and call it “customers who bought this, also bought this).

- Attributes: If you want add variations of your products, including colours, sizes, prints etc, you can do it in this section.

- Short description: You can use this section to include additional description of your product. For instance: you will come across numerous websites that use this section to add product brochure.

The right side bar powers the following features:
- Product categories: Create categories of products and add them to this list. Take example of an electronics store that create a separate category for laptops, phones, tablets and more.
- Product Tags: This is a way of labelling your products. You can add countless tags on a single product.
- Product Image: This will be the primary image of your product.
- Product Gallery: You can add as many images as you like to showcase different angles of your products, if it’s a physical one.
- The first time you visit this panel, WooCommerce will display some handy tooltips to explain what’s the purpose of each field
You can click on the “Publish” button on the right sidebar to finally publish your product and continue doing it until all your products are added.

#5 Defining the appearance of your website
It’s time to pick a theme for your website. After adding your products to your database, you can actually visualise the entire theme of the website more effectively than you would otherwise.
Any theme you pick for your WordPress website, will work well with your WooCommerce plugin. The side bar of your dashboard will take you to “Themes” under “Appearance”.
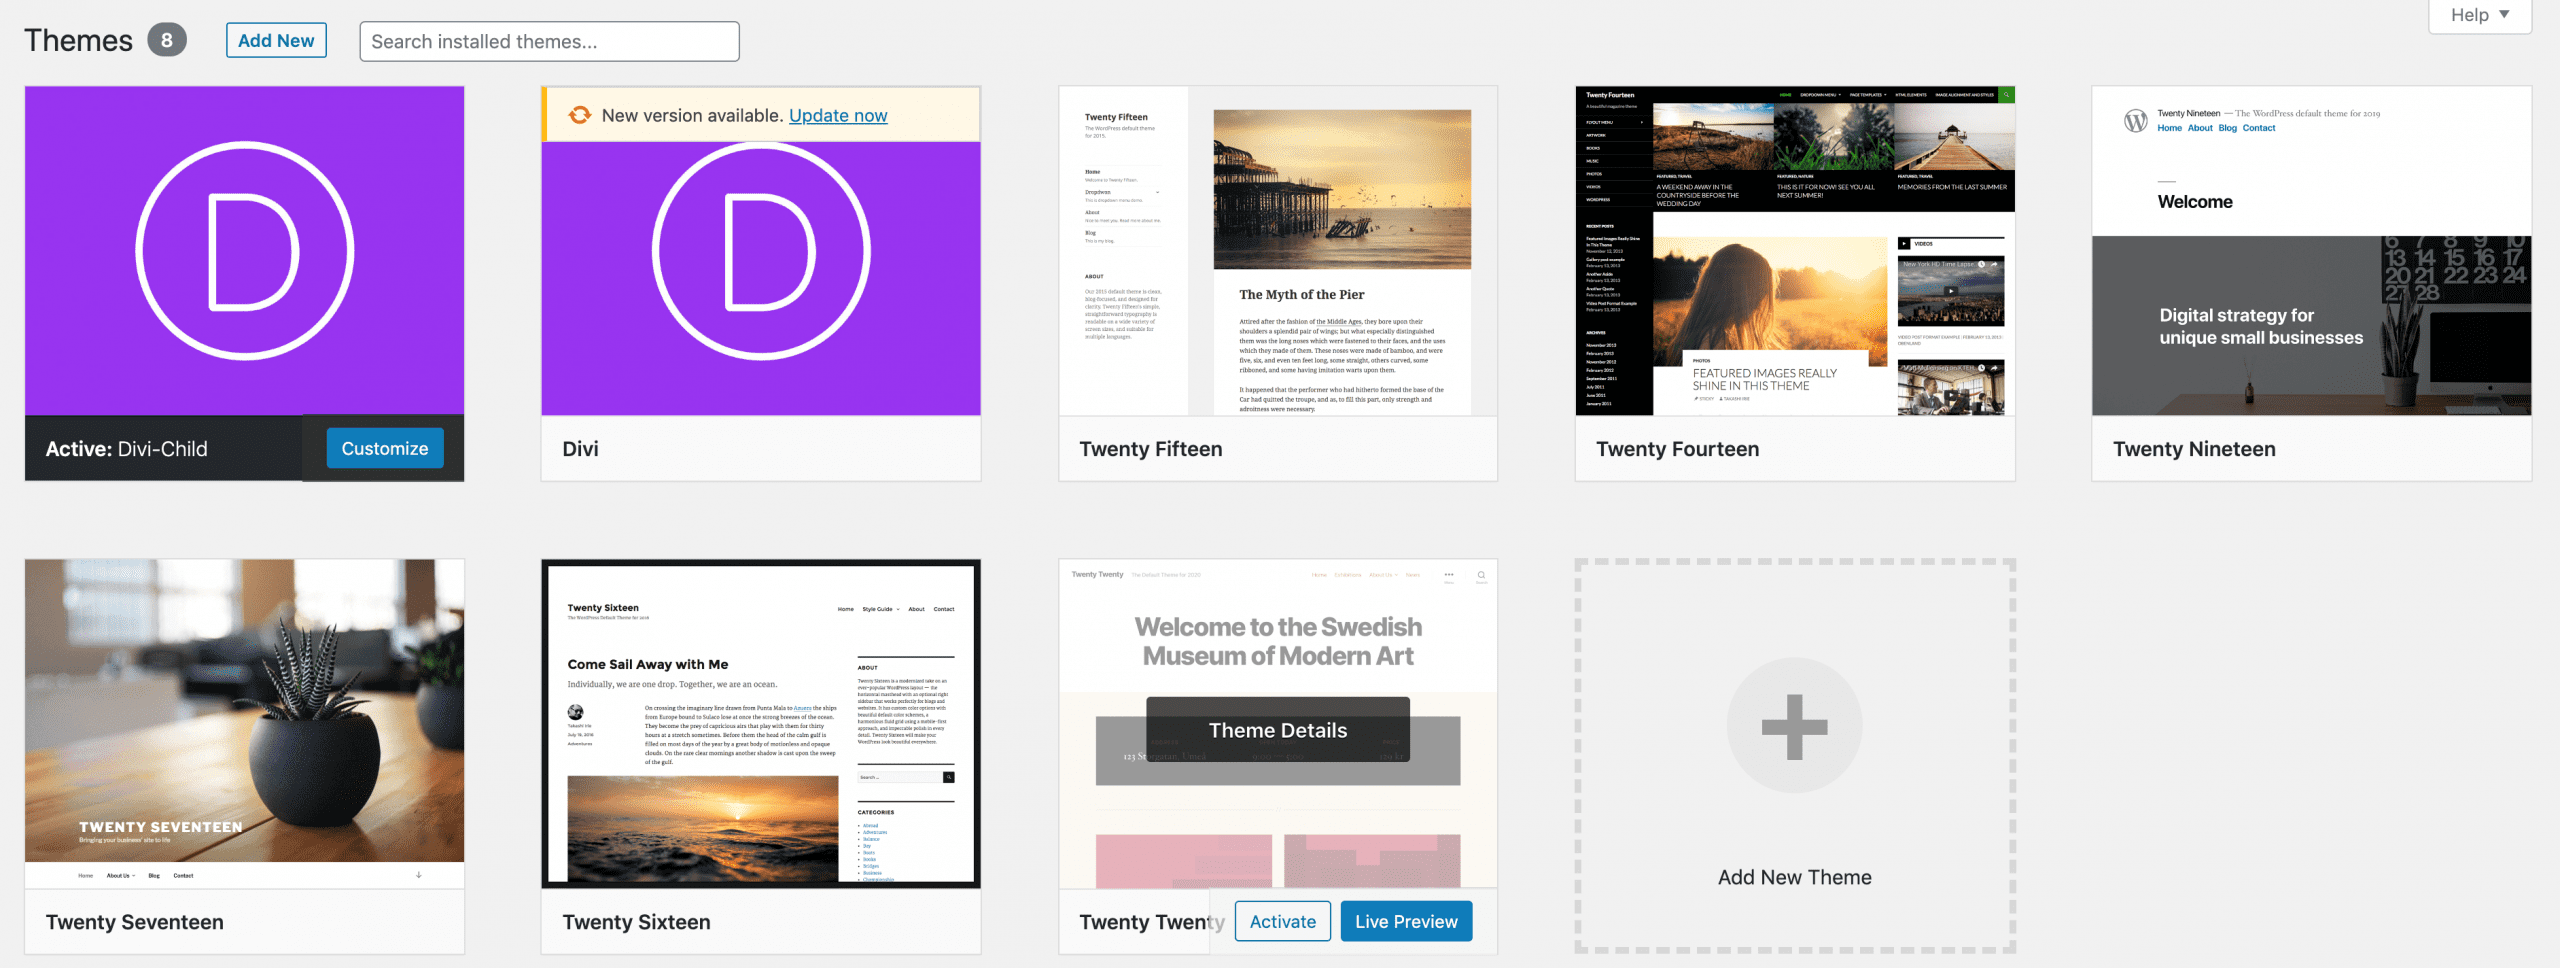
If you don’t like the theme that WordPress offers, you look for third party websites that offer themes for free and add a new theme to integrate it your website. Check out Themeisle.
Designing your website can be made easy if you follow a few suggestions. Primarily, it’s very important you keep the design of your website as clean and simple as possible. An overwhelming design may end up just confusing the customer.
Besides creating a beautiful website, your patrons should effortlessly be able to navigate to important pages.
#6 Adding pages to your website
As soon as you complete the designing bit, you can move on to create essential pages of your website.
Create default pages for your website, by simply clicking on WooCommerce from the side bar of your dashboard. This will take you to “Status”. Upon clicking Status, you can click on “Tools” and reach step 2, to create the default pages of your website.

Have a look at the most essential pages that will automatically be created within a click.
- Shop Page: All your products can be found on the Shop Page. This is how the page will look in the storefront. You can also choose to add content on this page.

The key to ensuring your product page looks professional, is adding high resolution images. Imagine looking at low quality pixelated images instead.
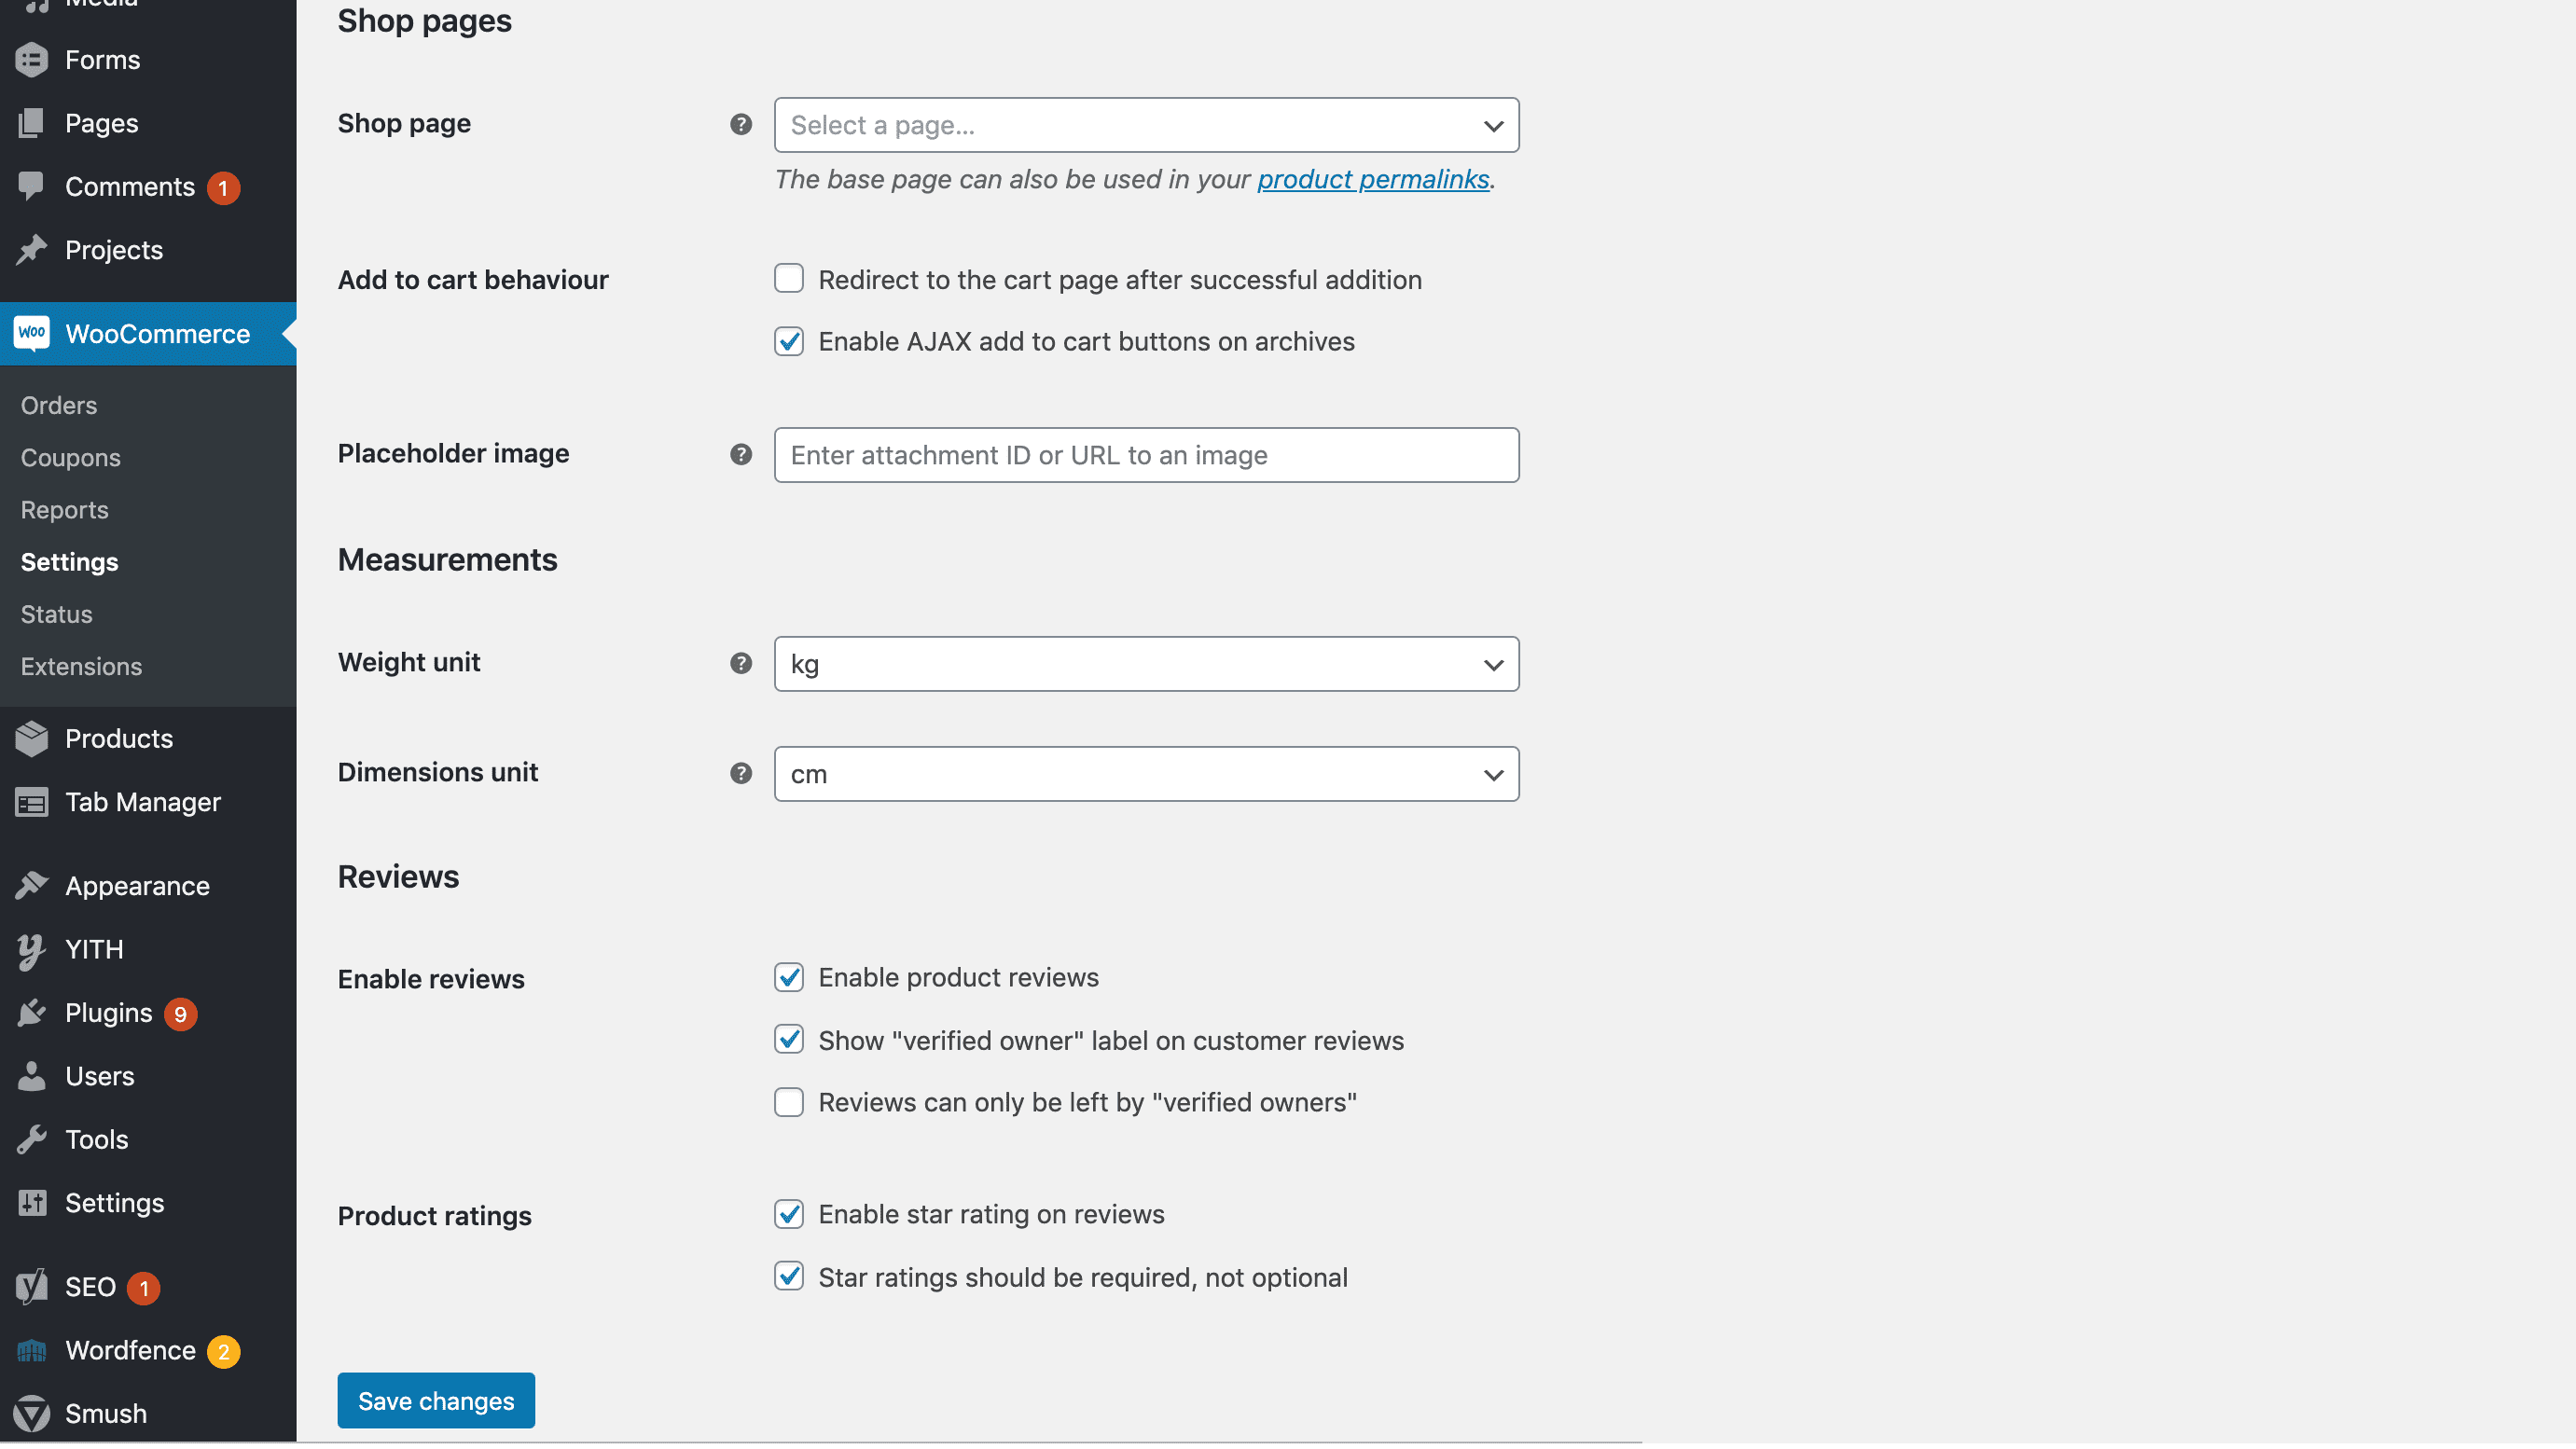
When you reach the WooCommerce settings, you can decide the information that should be displayed with the product image.
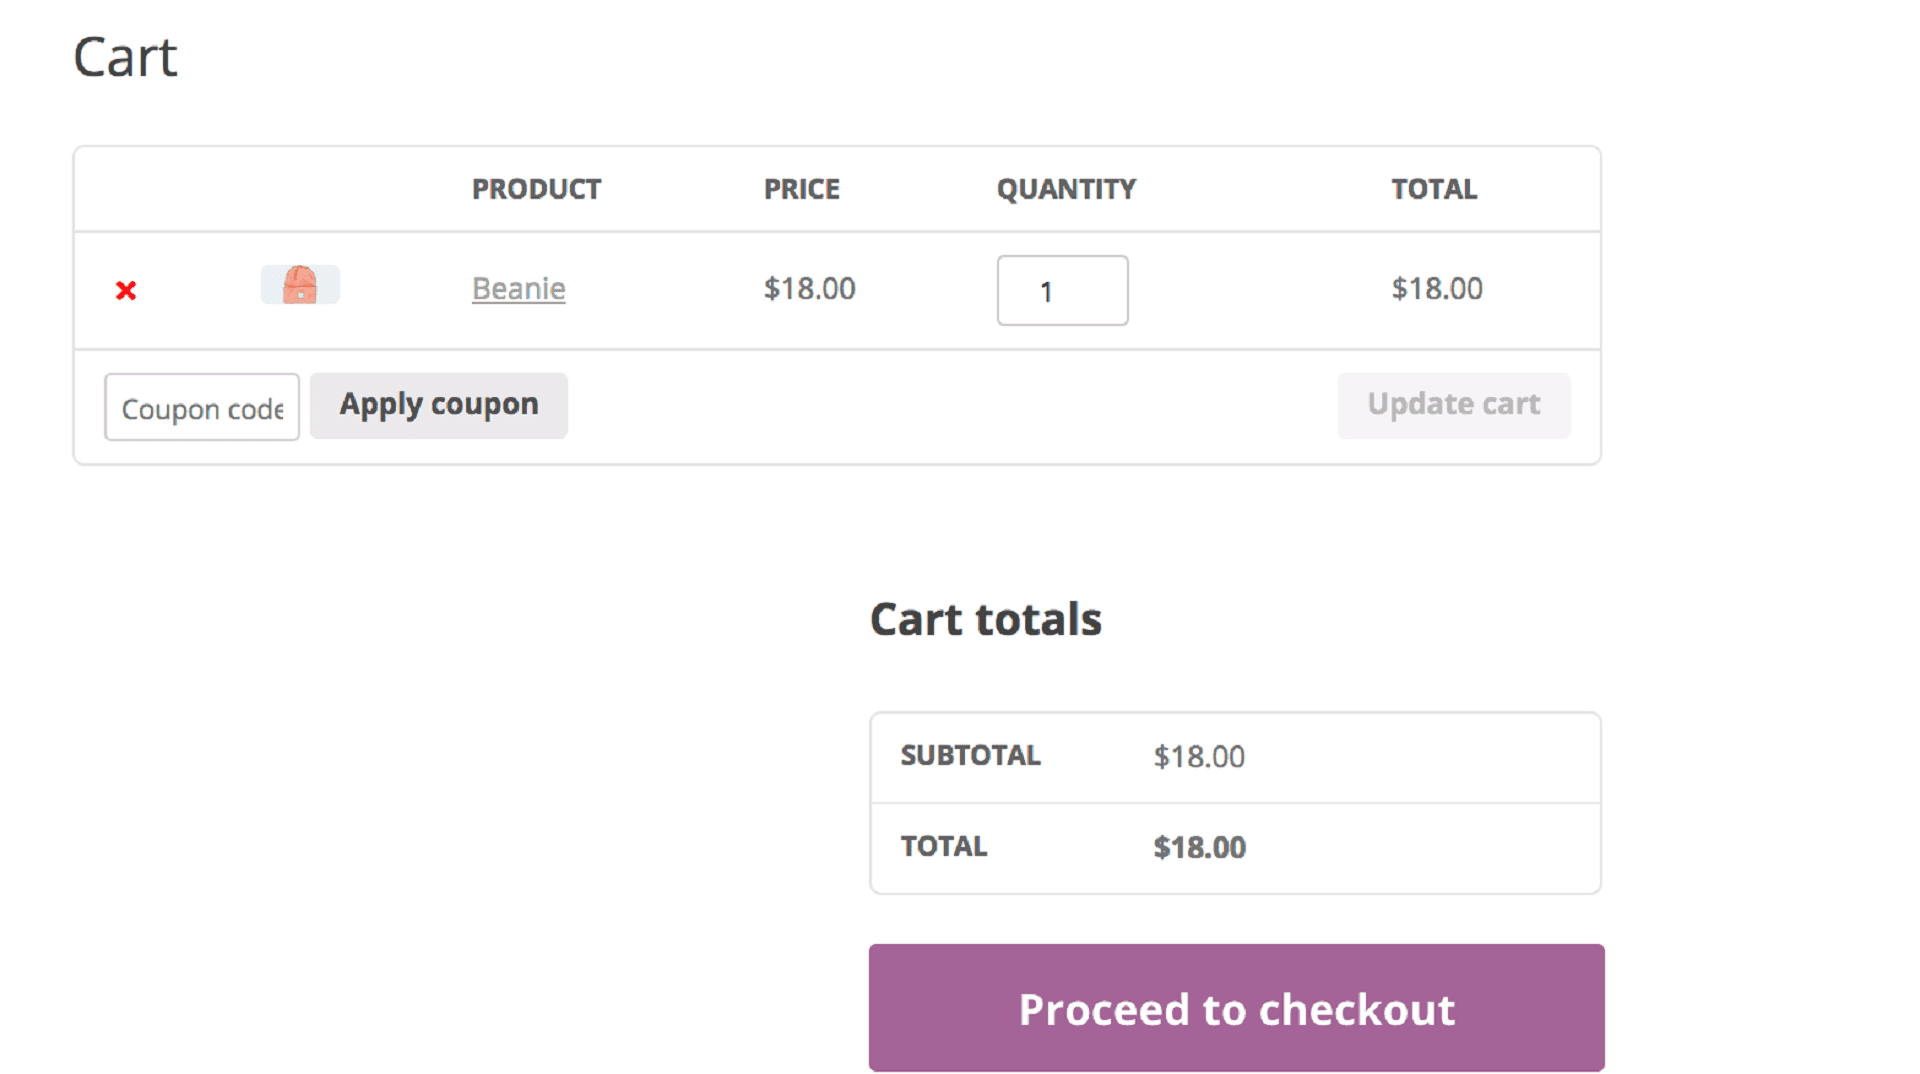
- Cart: Another default page that is added to your e-commerce website. If you are building a website to sell products, you can’t do without this page.
Try to keep this page as simple as possible. The last thing you want to do is distract the customers and take their attention off proceeding with the checkout. It is ideal that this page only includes cart, nothing else.
-
Checkout: Amongst all pages that you create, this is a page that will decide whether a customer will buy your product/service or abandon their cart altogether.
Like your cart page, you must ensure that you don’t confuse your customers or distract them. Let them complete the transaction peacefully and then may be go on your next mission. In simple words, keep it simple.
Power up your WooCommerce website
Building an e-commerce website with WordPress and WooCommerce is not rocket science. You are all set to launch your business in the digital world. A little patience and a good guide is all you need to create a stunning website for your business.
WooCommerce works wonderfully with WordPress. Just the thought of not investing a big budget into hiring a professional developer is a motivation good enough to build your website.
To make your website more efficient, you can always integrate multiple plugins.
Complete your online presence – Build a beautiful mobile app
An e-commerce store is mandatory for a business to survive currently. A mobile app on the other hand, is a powerful tool that can give a boost to your sales.
Creating a mobile app is much easier than creating an app now. You can now convert your WooCommerce website into app with an app builder.
This too, is a DIY project that you can take up and complete within minutes of signing up. The best part is that you don’t need any technical knowledge to launch your business in the world of m-commerce.
Reach out to AppMySite to build affordable native apps today!
