We’ve worked hard to build the best online app creator the world has ever seen. AppMySite introduces the most user-friendly platform that helps convert websites into full-blown mobile apps effortlessly.
Let’s look at the features that apps built with AppMySite pose:
Features
a. Real-time analytics
Monitor the performance of your mobile app through real-time reporting. Know how your app is performing by keeping an eye on the number of downloads with an insightful dashboard.
b. Quick app development
Build your app within minutes of signing up with AppMySite’s online app creator. Make your app aesthetically appealing by customizing the app icon, theme, layout and much more.
c. Multiple payment gateway support
Accept payments from your customers through numerous channels while giving customers freedom too. Include, credit card, debit card, wallets, cash and net banking from multiple channels such as amazon pay, Apple pay, PayPal, Google pay, Stripe and much more.
d. Social media integration
Make signing up and logging in easy. Allow customers to log in and sign up for your mobile app using their personal social media accounts.
e. Unlimited push notifications
Get unlimited push notification when you sign up with AppMySite’s free app maker. Send and Schedule attractive offers to customers through push notifications.
f. In-sync with website
Automatically sync products, categories and sub-categories when you convert website into app. Additionally, every time you upload a new product/blog, your app will automatically get populated.
#1- Getting started
Creating a mobile app with AppMySite is as easy rolling off a log. Your journey to build a full-blown mobile app starts when you land on this page. Simply click on the “Get started” button to reach the app builder.
a. Set up your account
If you don’t have an account already, begin with setting up your account by filling in a simple form. You can fill in your basic details that includes you name, email address, your profession and a password.
In case you want to avoid entering the details manually, you can also sign up with Google or Facebook accounts. You can simply sign in if you are already signed up.
b. Creating an app
After successfully enrolling your business on the app builder, submit basic details of your website that will be required to build your app. Fill in the form to enter your website URL, the category of website (E-commerce website, blog website, CMS website).
This is the section where you will give your app name. Ideally, your brand name should be used to name your app too. This is the name that app users will see when they download your app, on their phone screens.
On a side note, it is possible to change the name later on but not the details that you fill in the other two sections.
#2- Appearance
You can change the entire look of your app from this minute onwards. Make an appealing app icon, launch screen, login, forgot and sign in screens, app layout style and finally your dashboard. Let’s look at the detailed steps to design an impressive interface:
a. App Icon
This is where the action starts from. Your expedition to building an app will begin with creating an stunner app icon. Creating a professional app icon is essential to ensure your potential app users take your seriously.
You can really play around and design your app icon like an expert without putting in too many efforts. With AppMySite’s free online app maker, you can upload an high definition image or brand logo. The image must be 1024*1024 px or above.
You can also try a creative hand by designing your app icon yourself. This will involve selecting a desirable background colour, font colour, size and style.
b. Launch Screen
The second step will enable you to create a launch screen worth launching. Also called the splash screen, this will be the first screen your app users interact with. You want to make sure this screen doesn’t fail to impress your app users.
It is extremely easy to fully customize your launch screen, just like you did for your app icon. You can design your own splash screen by setting the background colour or a high definition image from the library. If you like, you can also include your logo text or other text and set an alignment to upward, middle and downward of the screen.
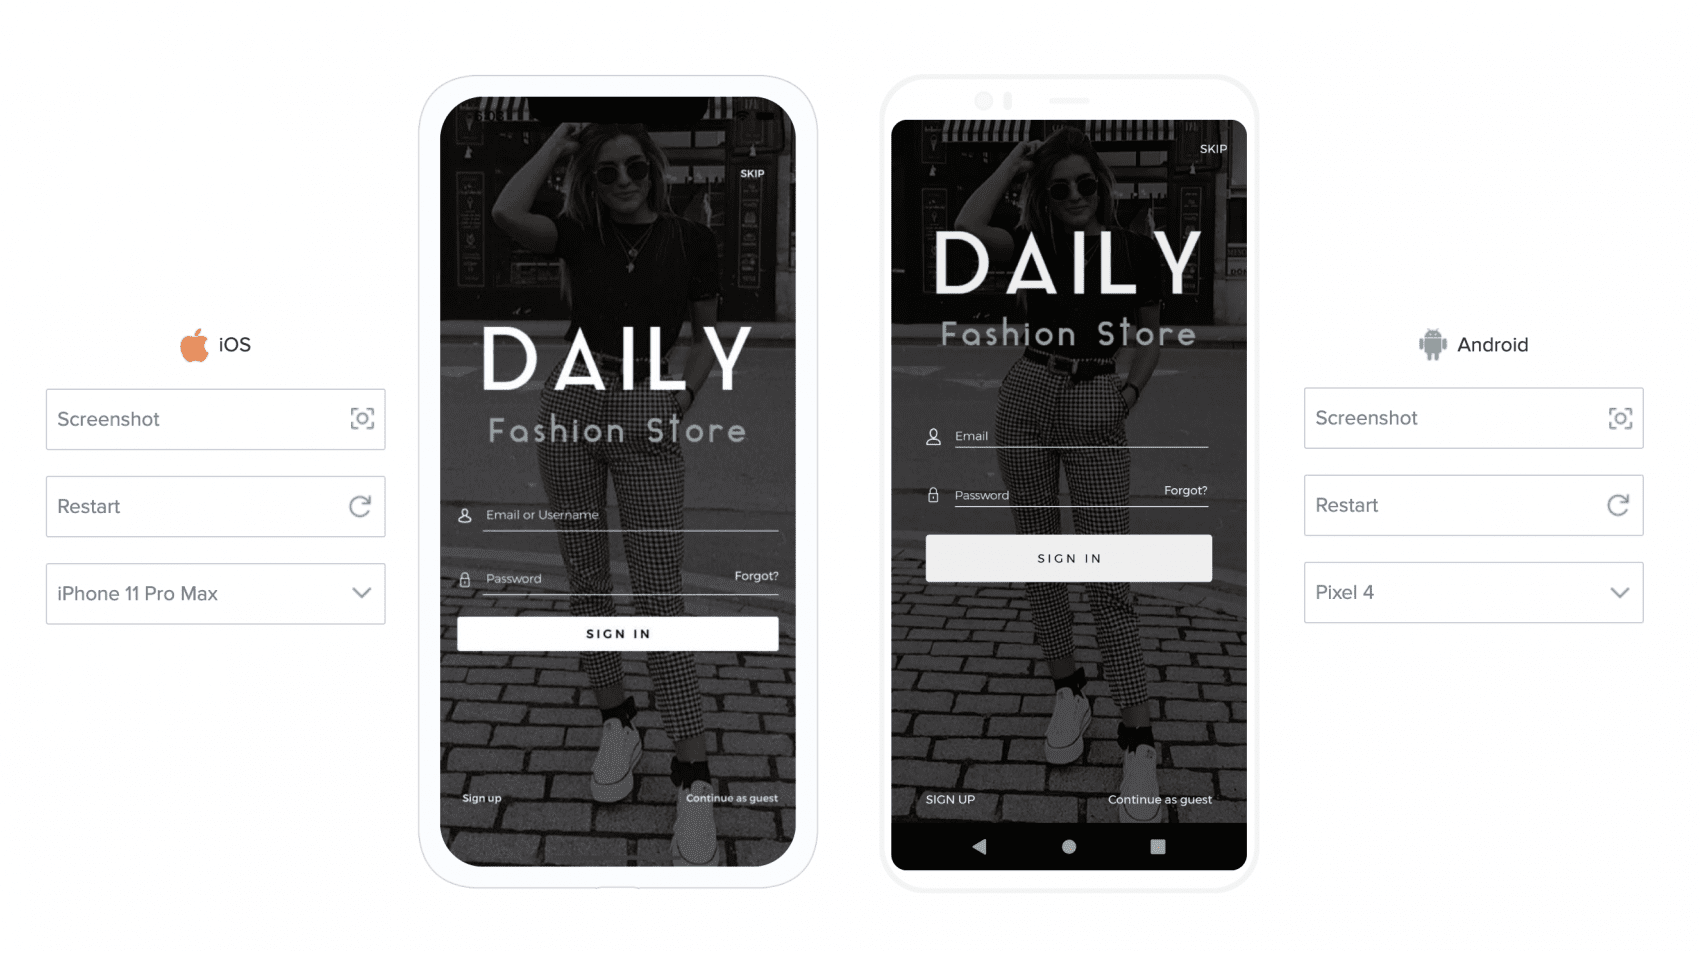
c. Login, Sign-up & Forgot Password Screens
The third step will involve designing the login screen, sign up and password screen in the same manner you designed your app icon and launch screen. The process is simple, you can make customization by changing the background image/colour, font size, style and colour.
Additionally, you can also change the entire theme to create a more professional look.
d. App Dashboard
Treat this screen as the home page of your website. After interacting with the splash screen and login screen, your customers will land on the app dashboard, also called the home screen, to navigate to other screen of your app.
You will see that this screen will be categorized into the following on your online app creator:
- Top Header
- Main Banner
- Categories
You can change the main banner by replacing it with a solid colour or uploading your own image or from the free image library. There will be several section on this screen called:
- Sale Items
- Recently Viewed Products
- Featured Products
- In Cart Products
- New Arrivals
It is possible to design each and every section in depth. You can also decide which sections the customers will finally be looking at by simply clicking on the toggle button.
e. App Layout Style
You’ve now reached the final stage of designing an aesthetically appealing mobile app. In this section, you can decide the colour of the top header and buttons of your app. This will remain constant on all your screen for a unified look.
#3- App Settings
Start unfolding the features and functionality of your app, after successfully designing it. Let’s see how you can customize your app settings:
a. General
This section will help you get started with defining the menu of your app. In simple words, you can designate a map which allow your app users to easily navigate to other screen using the app menu.
You can allow users to register on your app, browse it as guest, sign up/login from social media and Google with a simple click on the toggle button.
b. App Menu
In the app settings, it’s easy to populate the entire menu of your website onto the app. Select from the primary, footer and secondary menu to transport all the categories on your app.
If you’d like to create a menu of your own, you can do that too. Simply choose “create your own menu”. You can populate your web-pages, categories and blogs with the help of this section.
The “Social” section will power your app with social media integrations. Select from multiple handles or selective ones to boost your presence on social platforms.
#4- Connectivity
It’s time to connect your website to your mobile app. When you reach this step, you can start syncing all your website data to your mobile app, including pages, products, categories and more. You will come across two segments under this section. Have a look:
a. API Details
If you have a WordPress website with only blogs, you can skip this step. If you have WordPress website that is integrated with a WooCommerce plugin, you can follow this step to integrate the plugin on your app too.
After generating the REST API keys from your website, simply enter it in the WooCommerce consumer key and consumer secret. This step will ensure that each element of your website is integrated on your mobile app.
b. Install Plugin
After feeding the WooCommerce plugin details, download the AppMySite’s WordPress plugin on backend of your website. This is the final step to fully integrate our WordPress app builder with your website.
Both the steps that are involved in the connectivity section will enable you to automatically populate all categories, sub-categories along with blogs and products on the app. The connectivity between your app and website will ensure your app is a reflection of your website. This means that whenever you make changes on your website, they will be reflected on your app too.
#5- Preview App
A mini trailer of your mobile app is ready.
A preview of your app will allow you to see how artistically you to have put in your imaginations to come up with a stunning app. Not only will you be able to see the aesthetics of your mobile app through this section, but also check the app features. This means you can test your app completely before actually publishing it.
To take a step further to test your app on a real device, you can simply download AppMySite’s demo that is available on both Apple App Store and Google Play Store.
#6- Publish App
Once you are happy with the performance and visual appeal of your app, you can proceed to publishing your app to real audience. Building an app does not entail any cost on AppMySite. However, to publish it on Apple App Store (for iOS apps) and Google Play Store (for Android apps), it is mandatory that you upgrade to a paid plan.
This screen will take you to the pricing plan where you can select a plan that right for you.
If you need more assistance to launch your app or introduce more features, you can always go for add-on services.
#7- Add-ons
a. App Store Optimization
Allow your potential app users to easily discover your mobile through higher ranks on app stores. Sign up for App Store Optimization to enhance your visibility.
b. Publish app
If you don’t want to get into the nuances of publishing your app yourself, you can easily hand it over to our team. We will support the publishing of your mobile app end-to-end.
c. White Label
Build a white-labelled app to enhance your brand by going for this add-on. Your mobile app will come without AppMySite’s watermark.
d. Featured App
Showcase your mobile app on AppMySite by adding this to your bucket. Go for a wider audience reach.
e. Multilingual Support
By taking up this add-on, you can make your app available in multiple languages to your audience.
#8- Post live action
a. AppMySite Dashboard
Your app dashboard will guide you through the performance of your app through real-time reporting. Effortlessly manage the maintenance tasks of your app from the dashboard. Have a look at what you can do:
b. App Performance Analytics
Like we said, you can monitor how your app has been performing and check the number of downloads under the app performance analytics.
c. App Updates
Change the aesthetics of your app, including app icon, home screen and more.
d. Push Notifications
Schedule push notifications after customizing them as per your user behaviour. Send offers, promotions and more updates to your customers.
e. Select Add-on Products
If you didn’t sign up for an add on while creating or publishing your app, you can easily do it later on.
f. Account Settings and My Profile
i. My Apps
If you have multiple mobile apps, you can easily manage it from the “My Apps” screen. You can access any app that you built from here.
ii. My Profile
All your information, including profile and billing details will stored under “My Profile”. Bring all your information up-to-date using this section.
iii. Change Password
Easily change your password at any time. When you raise a request to change your password, you will receive a link on your registered email address. Simply follow the link.
iv. Billing and Payments
Keep a record of all your subscriptions under “Bills and Payments”.
Build your app
Building your mobile app has never been easier. You don’t have to be a techy to create a full-blown app anymore. Sign up with AppMySite for affordable app solutions.