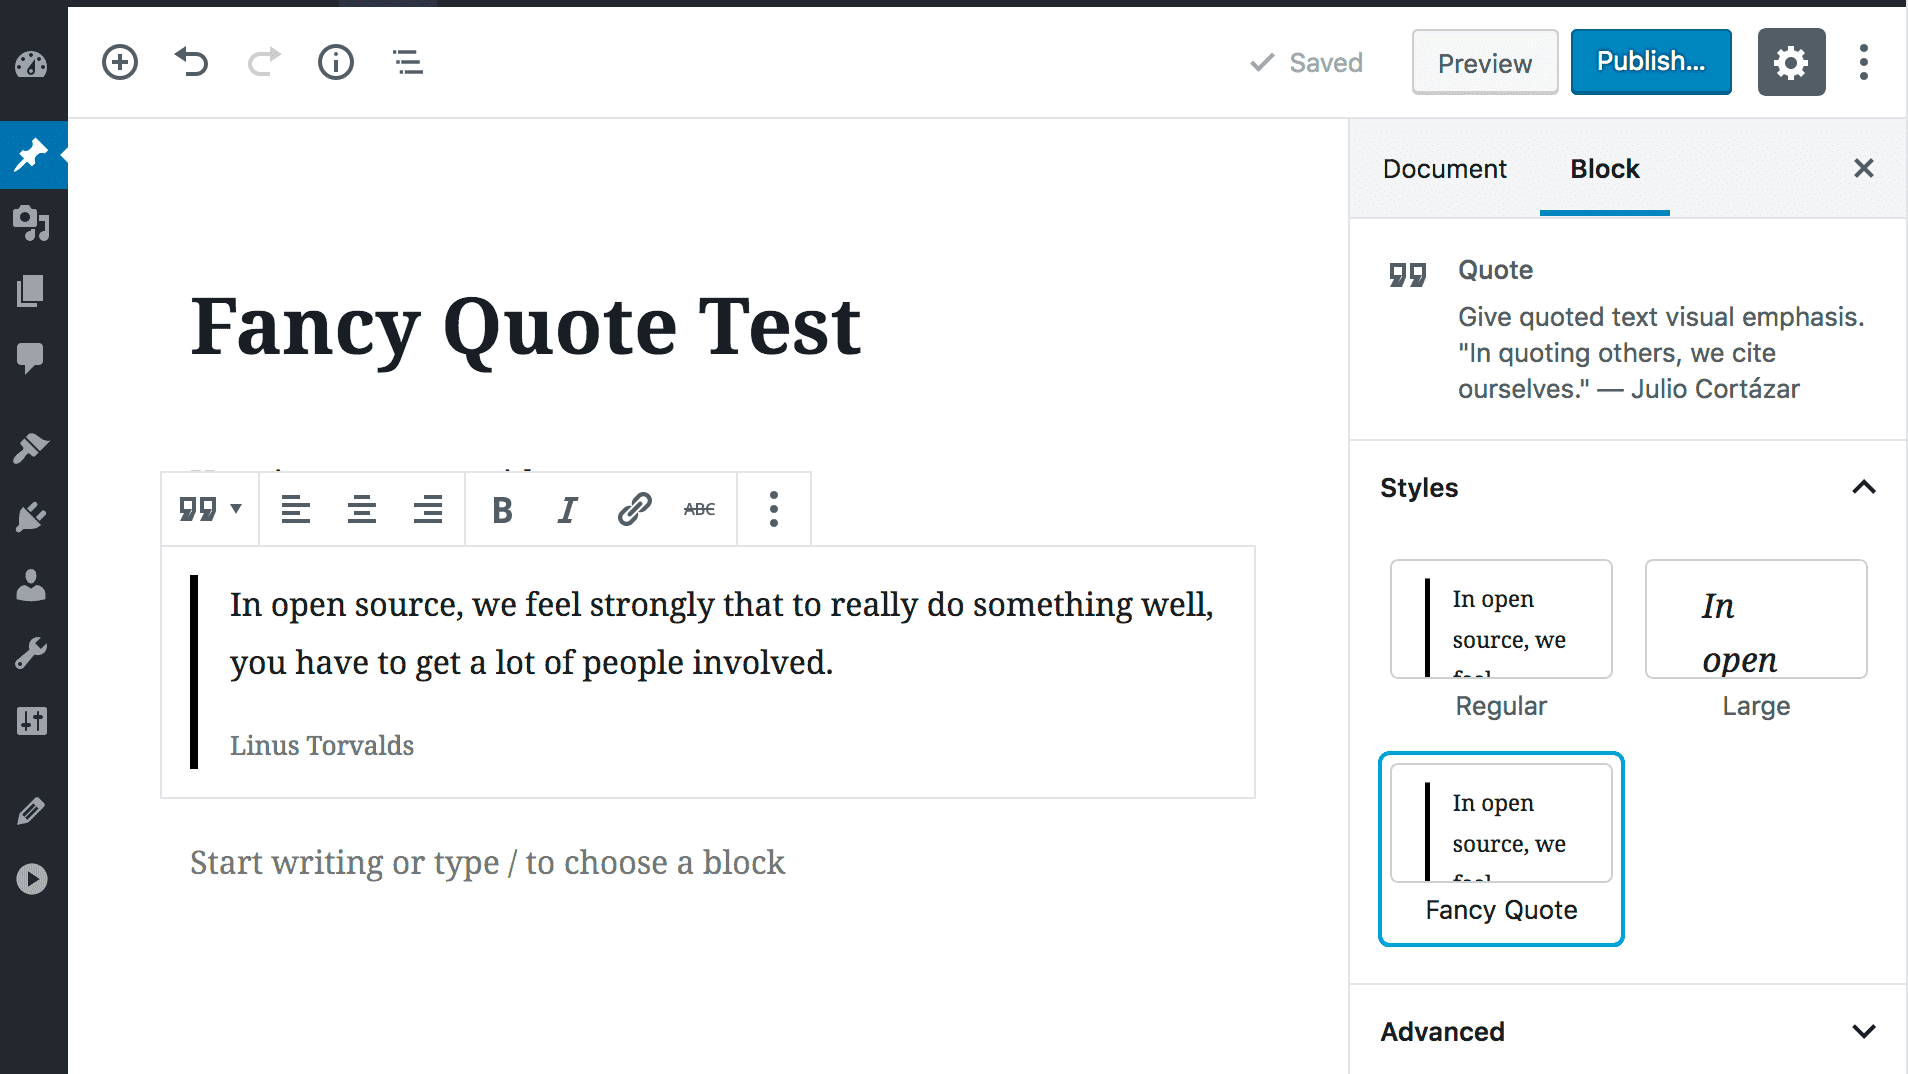
In 2019, WordPress 5.0 was rolled out. With this rollout, WordPress introduced the Block Editor, also known as the Gutenberg editor. If you have a WordPress website, you probably edit posts and pages in the block editor.
Since the 5.0 rollout, there have been many improvements made to the block editor. As recently as a few weeks back, WordPress launched the 5.8 version which introduced a ton of new features to the block editor.
On a cursory glance, the block editor looks like any other simple word editor you’ll find online. There are however a ton of features within the block editor that allow you to create engaging and stunning posts and pages. WordPress users often fall short of making full use of the block editor to make great posts and pages for their website.
With AppMySite supporting core WordPress functionality, you can import your website’s posts and pages in an app native environment. Making the most of the WordPress block editor can thus allow you fully leverage the AppMySite app builder to build an app.
In this article, we discuss how the WordPress Block Editor works.
WordPress Block Editor: An introduction
WordPress originally came loaded with the Classic Editor. The Classic Editor looked and worked like many word processors we generally use. As a WordPress site owner, you must have noticed the following sight when you started a new page or post.

Image Source: WordPress
The Classic Editor worked exactly like a conventional editor. You could enter text line by line and add media and widgets within the body.
The new block editor works differently. Instead of entering content line by line, each element on a post or page is loaded in blocks. These blocks can be edited separately.

There are many advantages of using the Gutenberg block editor over the classic editor.
For one, the block editor comes loaded with features that were unavailable in the classic editor. To add elements like tables in a post or page, users earlier had to install a separate table plugin.
The block editor allows users to add various interactive elements to a block without the need for a plugin. This makes it much easier for a beginner to create interactive posts and pages on a website.
Getting started with the Block Editor
There are many different features you can use on the block editor. In the following sections, we discuss some of the best ways you can use the block editor.
1. Adding new blocks to your page
The easiest thing you should know is how to add new blocks to your post. When you open the block editor to create a post or page, you will see a + button in the tray.
To add a block anywhere on the page, you can simply click on the + button. Once you do so, you can select the type of block you wish to add.
There are many types of blocks you can add depending on the content you wish to show. For writing simple content, you can simply select Paragraph.
WordPress allows you to choose from a wide range of block types. Some of them are listed here:
- Paragraph: To add simple text to a block.
- Heading: To add a new heading to a block.
- Image: To add an image to a block. You can choose an image from the media library or upload one from your device.
- Shortcode: In case you wish to show a widget in your post, paste the shortcode of the widget in the block.
- Gallery: To display multiple images in a block.
- List: To add a list of items in a block.
- Quote: To display a line of content as a quote.
- HTML: To add custom HTML is a particular block.
- Spacer: To add extra white space in the post.
- Separator: To add a simple line as a separator in your post.
- Table: To add a table in your block.
- Buttons: To add an action button in a block. You can choose to link the button to another page as well.
Once you select a particular block type, you can customize its options in the Block sidebar. Each type of block comes with a different assortment of settings. For text, you get settings for font and size. For an image block, you can finetune border settings, size, and more.
You can also interchange block position by clicking on the arrow key in the edit block panel. When you’re editing a block, you will notice an editor tray that displays all the ways you can customize the block. Simply clock on the up or down arrow keys to update the arrangement of a block.
2. Adding images and related blocks
A post is incomplete without images. WordPress allows you to add pictures to your blog post.
The most common block type for adding an image is the image block type. Simply choose Image as your block type and add an image You can choose from your media library or upload an image from your device.
Once the image is added, you can customize its style and size in the block settings in the sidebar. You can also update the alt text of the image in the settings sidebar.
There are various other image-related blocks you can use. The gallery allows the uploading of multiple images to a single block. This is useful if you wish to show multiple images together without using too many blocks.
Once you choose gallery view, you can upload multiple images to the block at the same time. You can further change the arrangement of these images based on your preference.
In the block settings sidebar, you can choose the number of columns in the gallery, image size, crop options, and more.
3. Making groups and columns
One of the main advantages of using the block editor is changing the style and arrangement of the content. You can either bundle content on a post or page with groups and columns.
There are many advantages to doing this. Using groups and columns allow you to mix up the arrangement and layout of your website.
a. Groups
To add multiple blocks to a group, hold your shift key and click on the blocks you wish to click one at a time.
You can then edit all the blocks as one group in the block settings in the sidebar. You can choose to add a background color, change padding, and more after grouping multiple blocks.
Grouping different columns make sense when you’re designing a landing page with the Gutenberg editor. This allows you to customize the layout of your landing page by editing the page based on your preferences
b. Columns
Columns are another way of changing the layout of a typical post. To change multiple blocks to a column view, hold your shift key to select different columns. Then, click on the block type button and select columns.
This will render your blocks in a column layout.
A column layout can help if you’re looking to present content in different formats. A simple table can be a bit restrictive, especially if you wish to add interactive elements to each column.
Once the column view is added, you can change the style of the layout and choose the number of columns you wish to show.
4. Adding blocks with images and content
While designing a landing page, you might find the need to interweave the layout of images and text. This is important for offering a seamless viewing experience to website visitors.
Simple paragraphs are not always the best choice.
The WordPress Block Editor comes with in-built image and text block types. These allow you to create interactive blocks which mesh together content and images smoothly.
The two popular types of image and text blogs are discussed below.
a. Media and text blocks
These blocks basically provide you a two-column view. You can add an image in one column and text in the other. In the text column, you can additionally add other blocks like buttons, headings, and more.
The advantage of using media and text blocks is that you can present both content and media side-by-side. The block is also optimized for mobile, meaning that the order of images and text remains consistent irrespective of how they look in desktop mode.
b. Cover images
For writing text over an image, you can choose the cover image block. The block allows you to add an image to the block and write text over it. You can also change the width of the block to make it span across the breadth of the screen.
This is a great way to design featured images for posts and pages. You can also use it on a landing page as a banner. This cover image will provide a parallax effect to visitors, making the overall experience smooth and seamless.
5. Using plugin-based blocks
If you scroll across your block options, you’ll find many block types which are created by third-party plugins.
Contact forms are an interesting example.
You can easily add a contact form to a page or post. Your form plugin will be available in the Gutenberg block editor in the form of a block type. Once you choose the block type, select the form you wish to show in the post.
Similarly, there are various other plugins available that are integrated with the Block Editor. You can use them as widgets to make your posts and pages more interactive and functional.
6. Saving pages as templates
The WordPress 5.8 update introduced new features to the block editor. One of the features includes the option to save pages and posts as templates.
You can save any page you’re editing as a template on the block editor. You can later use this as a template while creating other pages on the website. In other words, you don’t need to create posts and pages from scratch.
This is a useful feature if a lot of your posts and pages use the same functionality.
7. Creating a query loop

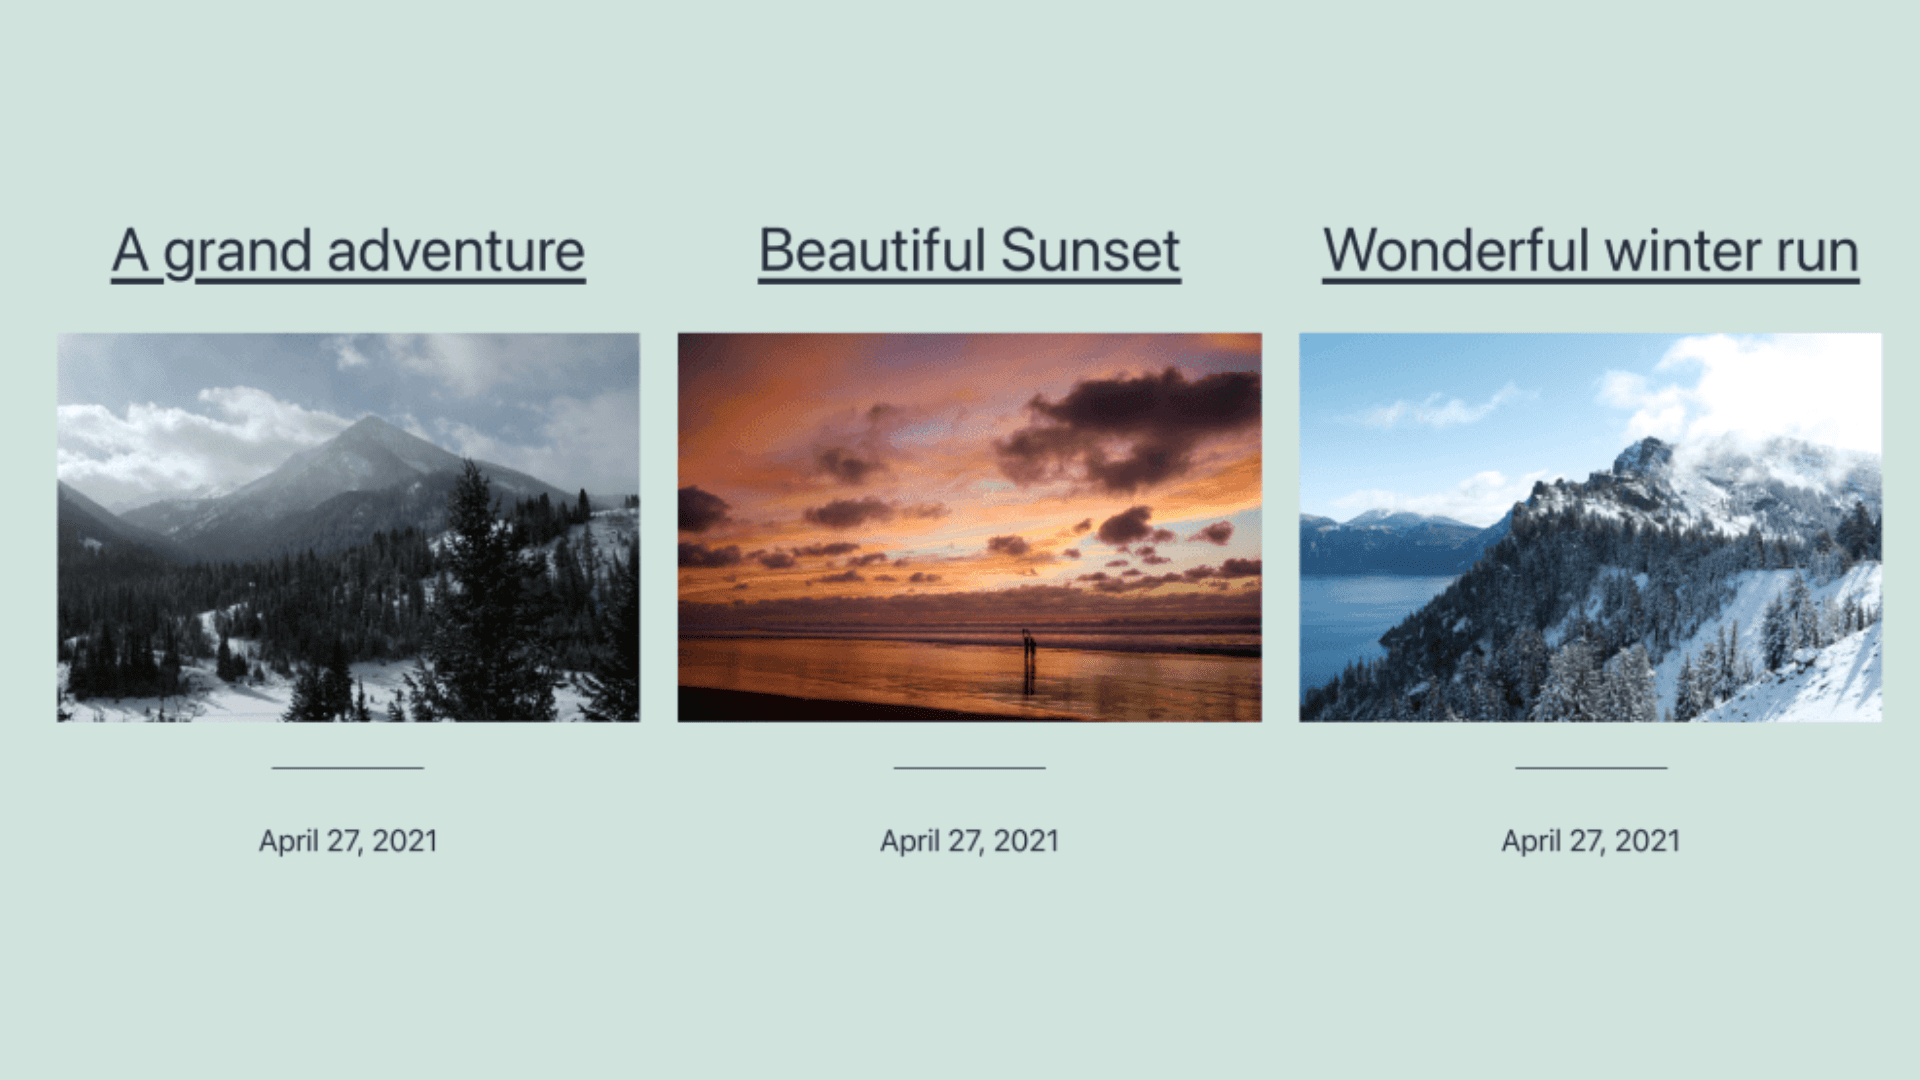
Query loop is a new block type introduced in WordPress 5.8. The query loop essentially allows you to display a custom list of posts in a particular block.
This basically allows you to display a given set of posts in the form of a carousel or grid in a block. You can choose which aspects of your posts you wish to show in the query loop block.
You can choose to show the post title & excerpt, title & date, and other variations. Once you’ve selected a variation, choose which posts you wish to show in the block. You can choose which posts you wish to show by using categories and tags as filters.
Additionally, you can choose to change the order of the posts based on the time at which they were published. You can also choose to show custom post types within query loops. This essentially allows you to port content created by third-party plugins in the block editor.
In conclusion
Having a complete understanding of the WordPress Block Editor is crucial for making better pages and posts on WordPress.
While it may seem like a simple editor, the Gutenberg block editor offers serious functionality. It is constantly made more powerful with each WordPress update. You can use it to design complex landing pages too.
You can additionally render your custom-designed pages and posts in your AppMySite app in webview or native view. You can thus bypass the tedious process of learning how to make an app and use AppMySite to create a powerful app with WordPress.
This article lays out the essential features of the block editor. You can use this as a foundation to become better at creating posts and pages with WordPress.
