Cloudflare is a CDN service that enables your website to load fast anywhere in the world. It also offers a number of security features to make sure all your online properties are secure, reliable, and private.
You must have seen the Cloudflare logo and name on loading a website online at some point. It is easily the most sort after solution to protect and accelerate website performance.
If you have a fledgling website with steadily growing traffic, setting up Cloudflare is a very good idea. You can protect your website from bad traffic while also making sure it maintains an optimal load time across the world.
Also read: Seven ways to improve your WordPress website security instantly
If you’re using AppMySite’s web-to-app solution, decent site load times can speed up your app as well. Cloudflare can thus help you speed up and secure your app and website.
In this article, we discuss how you can set up your WordPress website with Cloudflare.
Cloudflare: An introduction
How does Cloudflare help your website? We’ve already mentioned that it is a platform that offers security and performance solutions.
These solutions come in the form of various technologies and tools offered on the platform. Some of them are listed here:
- DDoS protection for your website once your domain is connected to Cloudflare’s servers. This allows every potential threat to be blocked in under 3 seconds.
- Offers the world’s fastest DNS resolution.
- Optimized CDNs to make sure your website loads fast anywhere in the world. With its global network, Cloudflare is able to limit the number of requests made at the origin and thus reduce the bandwidth consumed.
- Easy and effective caching settings to make your website’s load time more efficient.
- Faster site rendering through a lossless image compression algorithm.
Step 1: Create a Cloudflare account for your website
Adding Cloudflare to your WordPress website can look like a tedious process at first. However, the process is in fact quite simple.
The first obvious step is creating a Cloudflare account. The following steps provide an overview of how to do this:
- Go to the official Cloudflare website and sign up for an account.
- In the next step, enter your website URL. You will then be asked to select a plan.
- You can choose the free plan at first to explore the features offered by Cloudflare. As your website grows, you can scale to a bigger plan later.
Step 2: Review your website’s DNS records
In the next step, you will be required to review your website’s DNS records. Here Cloudflare simply reviews your existing DNS records and asks you to confirm the same.
- On this screen, check if the proxy status in the DNS records table shows an orange cloud image. This image should appear by default.
- If you see the image, simply click on Continue. You don’t need to take any action.
Next, Cloudflare will ask you to update your nameservers. This will have to be done from your domain registrar account. Cloudflare will provide you the nameserver details.
Depending on your domain registrar, the process of updating nameservers can vary. You can follow the steps below for a general overview:
- Login to your domain registrar account. This is the account using which you purchased your website domain.
- Look for DNS settings in your account panel. The exact name of this page can vary from company to company. You should be able to find a place to edit your DNS with relative ease.
- Once you’re on the DNS settings screen, look for the place where your current nameservers are listed.
- Update the nameservers with the server links provided by Cloudflare.
Once this is done, you can return to Cloudflare and confirm the change. Keep in mind, domain registrars can take up to a day to fully point your domain to the new nameservers. Cloudflare thus may not be able to verify the nameservers immediately.
Step 3: Configure your account settings
Next, you can start improving your website performance with Cloudflare by configuring the available settings.
Cloudflare offers a number of ways to protect and speed up your website. Some of these options may seem a little technical. The following steps provide guidance on the same:
- SSL/TLS encryption: This setting basically allows you to weed out malicious traffic coming on your website. Choosing the Full option is recommended here for end-to-end security. Make sure that your entire website has HTTPS enabled before activating this setting.
Also read: What is an SSL certificate and why is it important for your website?
- Minification: This option will minify your website code and make load times more efficient. If you already have a performance plugin on your WordPress website for minification, do not enable minification on Cloudflare. If you’d like to use Cloudflare for minification, disable the plugin first.
- Caching: Your CSS and JS files will be cached by default. Keep the caching level to Standard in your Cloudflare account.
There are several other settings you can configure. The ones covered here are a good place to start protecting your website and enhancing its performance.
Using the Cloudflare WordPress plugin
If making these changes is a little technical for you, there’s another way to do this. Once you have updated your nameserver details, install and activate the Cloudflare plugin on your WordPress website. Then, follow the steps below:
- Open Cloudflare from the Settings module of your website admin panel.
- Choose the sign-in option and log in with your Cloudflare account.
- Enter your email and API key. Here’s how you can generate the API key:
- In your Cloudflare account, click on the Profile icon and select My Profile.
- Select View next to Global API key in the API Keys section.
- You’ll be able to view your API key here. Copy and paste it into the required field in your admin panel.
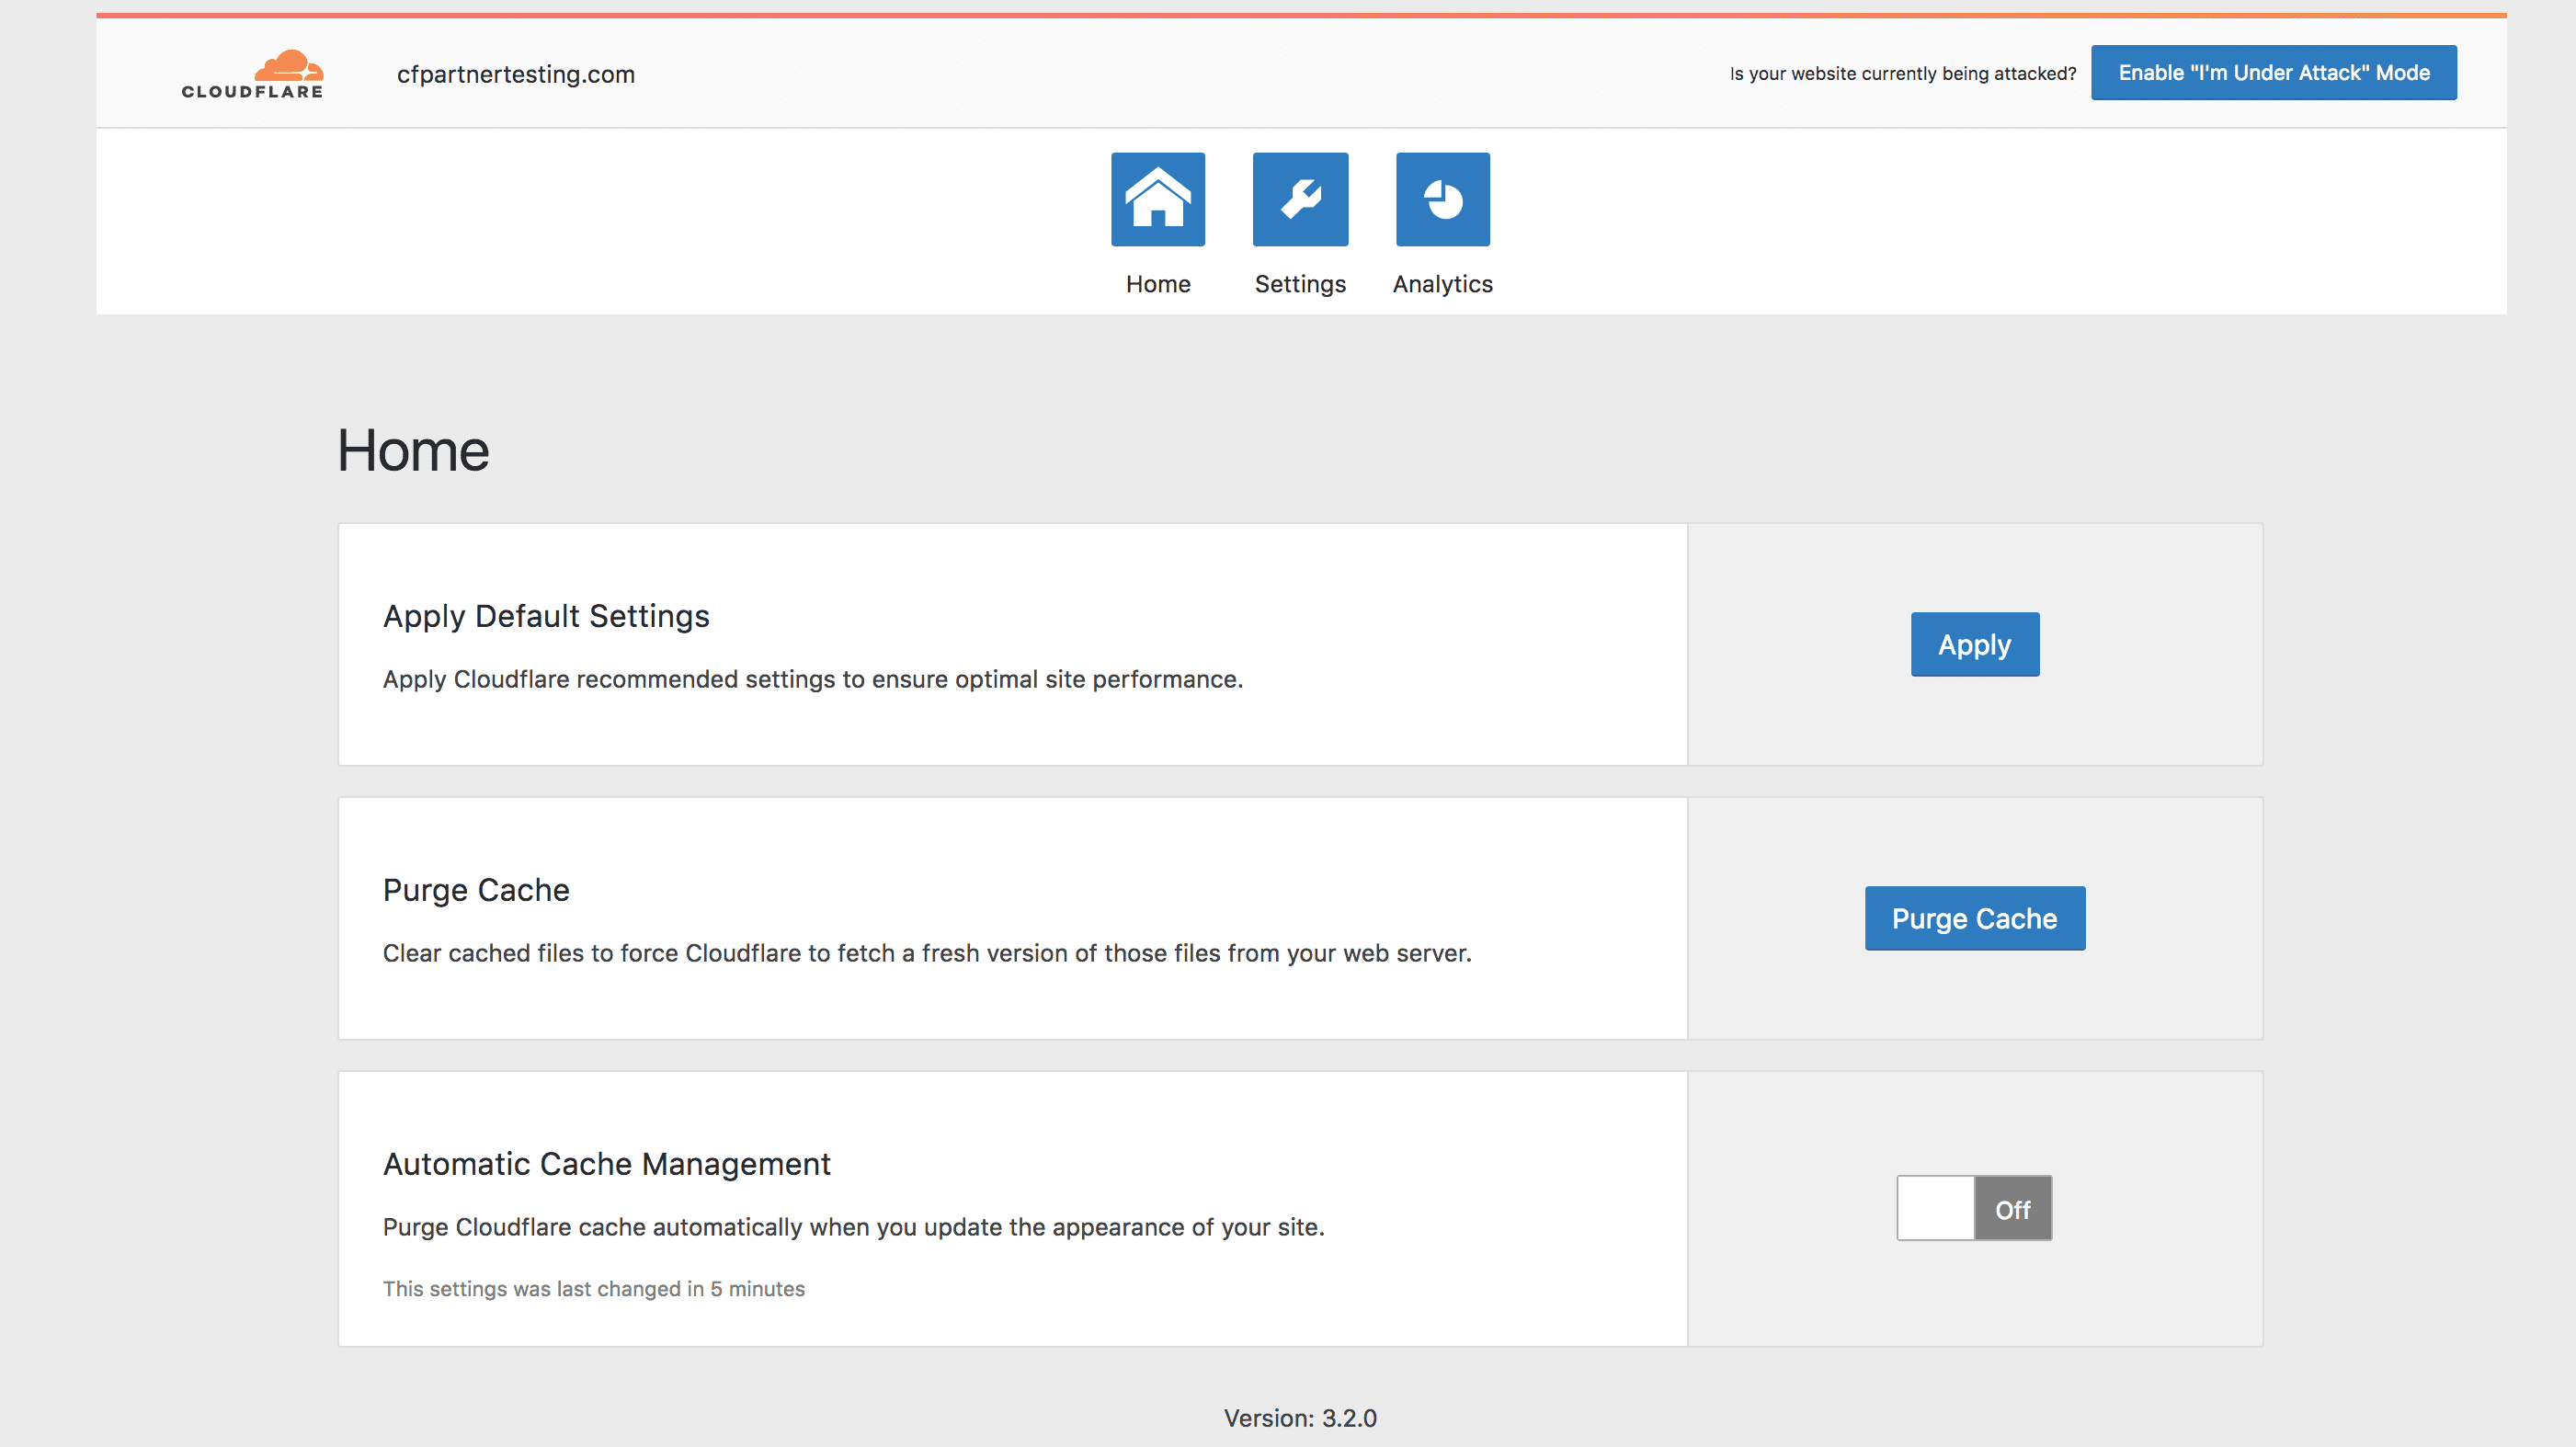
- You will now be able to see an option to Apply Default Settings. Simply click on Apply beside it.
That’s it. Your Cloudflare account will automatically be configured for optimal settings for a WordPress environment.
In conclusion
Using Cloudflare can be a major boost to your website’s security and speed. This in turn also helps improve the overall usability of the apps you create using AppMySite’s web-based app-building solutions. AppMySite’s app builder also allows you to build an app without a website.
In this article, we discussed how you can set up a new Cloudflare account for your WordPress website. Since Cloudflare offers a lot of the features discussed in its free plan, it really is a no-brainer to try it out for your website.