You should never underestimate the role of a good home screen in the success of your mobile app. Moreover, the obsession with getting the home screen right only makes sense in the competitive app universe.
Before mobile apps, websites were the go-to digital medium. Even then, companies used to specially hire UI/UX experts to create the perfect website home page.
Your homepage is at the forefront of explaining your company’s exact offerings. There is no other webpage that is more important in this regard. Thus, it is natural to see the importance of a great website homepage translate into a yearning for app home screen optimization.
A great home screen is crucial for making sure a mobile app performs well on key app metrics. These KPIs include the likes of app retention, session duration, churn, engagement, and more.
AppMySite offers several app development solutions that make it easy to build aesthetic and feature-rich apps. Here, you can build apps from scratch or turn your website into an app, whichever is more convenient for you.
The designated WordPress app builder solution especially simplifies the process of designing, building, and launching WordPress apps that complement your site. Continue reading and find out how you can create eye-catching home screen designs on AppMySite.
Designing a home screen on AppMySite
App development and design are not what they used to be some years back. AppMySite has made no-code app development a real possibility now. Even app design is a simple matter of a few clicks on AppMySite.
You can design the home screen of your mobile app on AppMySite through a ton of customization features. There are a number of design options available for WordPress users trying to create an app for their blog.
While the available features are easy to use, thanks to our intuitive design editor, some initial guidance can set you on the right path. Besides, it is important to follow the best design practices to generate the best results. So go through the points below and know more:
Designing the screens preceding the home screen
Contrary to popular belief, the home screen is not the first thing your users will see upon launching your app.
Other than the app icon, users see the launch (splash screen) and user onboarding screens before the home screen. While the latter only appears once, when your user arrives on the app for the first time, the launch screen will always appear on app launch.
It is thus wise to design the screens preceding the home screen well to make sure the latter makes a strong impact.
a. Designing the launch screen
On the AppMySite platform, the launch screen is referred to as the splash screen. The following steps explain how you can design a splash screen on AppMySite.
- Select Splash Screen under the Design section on your AppMySite account.
- Use the design editor to create and optimize your splash screen. You can select a suitable template or upload an artwork of your own.
- You can also create your own brand kit with colors and objects that align with your business theme and brand guidelines.
- Preview your designs and elements on the live preview screen.
The launch screen should ideally be something simple and soothing for the eyes. This screen will only appear for 2-3 seconds. It doesn’t make sense to add any important marketing message here. You only need to make sure that the aesthetic matches the tone of your overall mobile app design.
b. Designing the log-in and sign-up screens
Designing the user-onboarding screens of an app well is very important. You cannot hope to get people to the home screen of your app without a smooth user-onboarding process.
Here’s the stepwise process of designing the log-in and sign-up screens on AppMySite-
- Select the Login option under the Access section. Here, you can also design a user consent screen if your app needs one. Else, navigate to the Login design section.
- Activate the user login toggle to enable the login feature in your app.
- Go on to design the layout, background, buttons, and theme for your onboarding screens.
- Preview the design on the live screen on the right side of the page.
Make sure there is design consistency between the launch screen and login and sign-up screens. This is just to make sure that the onboarding process is cohesive on a visual level.
Suggested Read: Importance of app icons – The most overlooked element of a mobile app design
Designing the home screen for WordPress apps
After creating a good launch screen and designing the user-onboarding screens, it is time to design the home screen. In the next steps, we will discuss everything you can do to design the home screen of your WordPress app.
Just scroll to the Navigation section on your AppMySite dashboard and click on it. You can start by defining the Color Theme of your app. Next, proceed to the Home Screen module and optimize it to design the perfect screen for your app.
Based on your website, app, and product type, you may see a list of options to work with. For WordPress owners, the following sections might be available for configuration:
- Home Header: The header generally contains the name of the mobile app. You can experiment with CTAs and other kinds of marketing messages to add to the header.
- Section Colors: This option enables you to set up the color scheme of various sections on your home screen.
- Main Banner: Banners are a common part of home screens. Most of the apps you use have banners on the home screen, often highlighting offers or campaigns.
- Blog Banner: Many bloggers have a blog banner on their website. This can be replicated in your app to serve a range of purposes.
- Blog Categories: Here you can manage the overall display of your category section to ensure smooth app navigation and content discovery.
- Popular Blogs: Popular blogs simply refer to the posts on your blog that get maximum readership. You can help users directly explore the top content.
- Recent Blogs: Recent blogs refer to the posts you’ve published recently. It is best to highlight the latest content and updates on your app.
- Web View: This enables you to display a simple web view interface on your app. Use it if you already have a great website home page and wish to showcase it in the app.
- Pages: This is typically a section where you can display important pages of your website like privacy policy, about us, terms and conditions, and more.
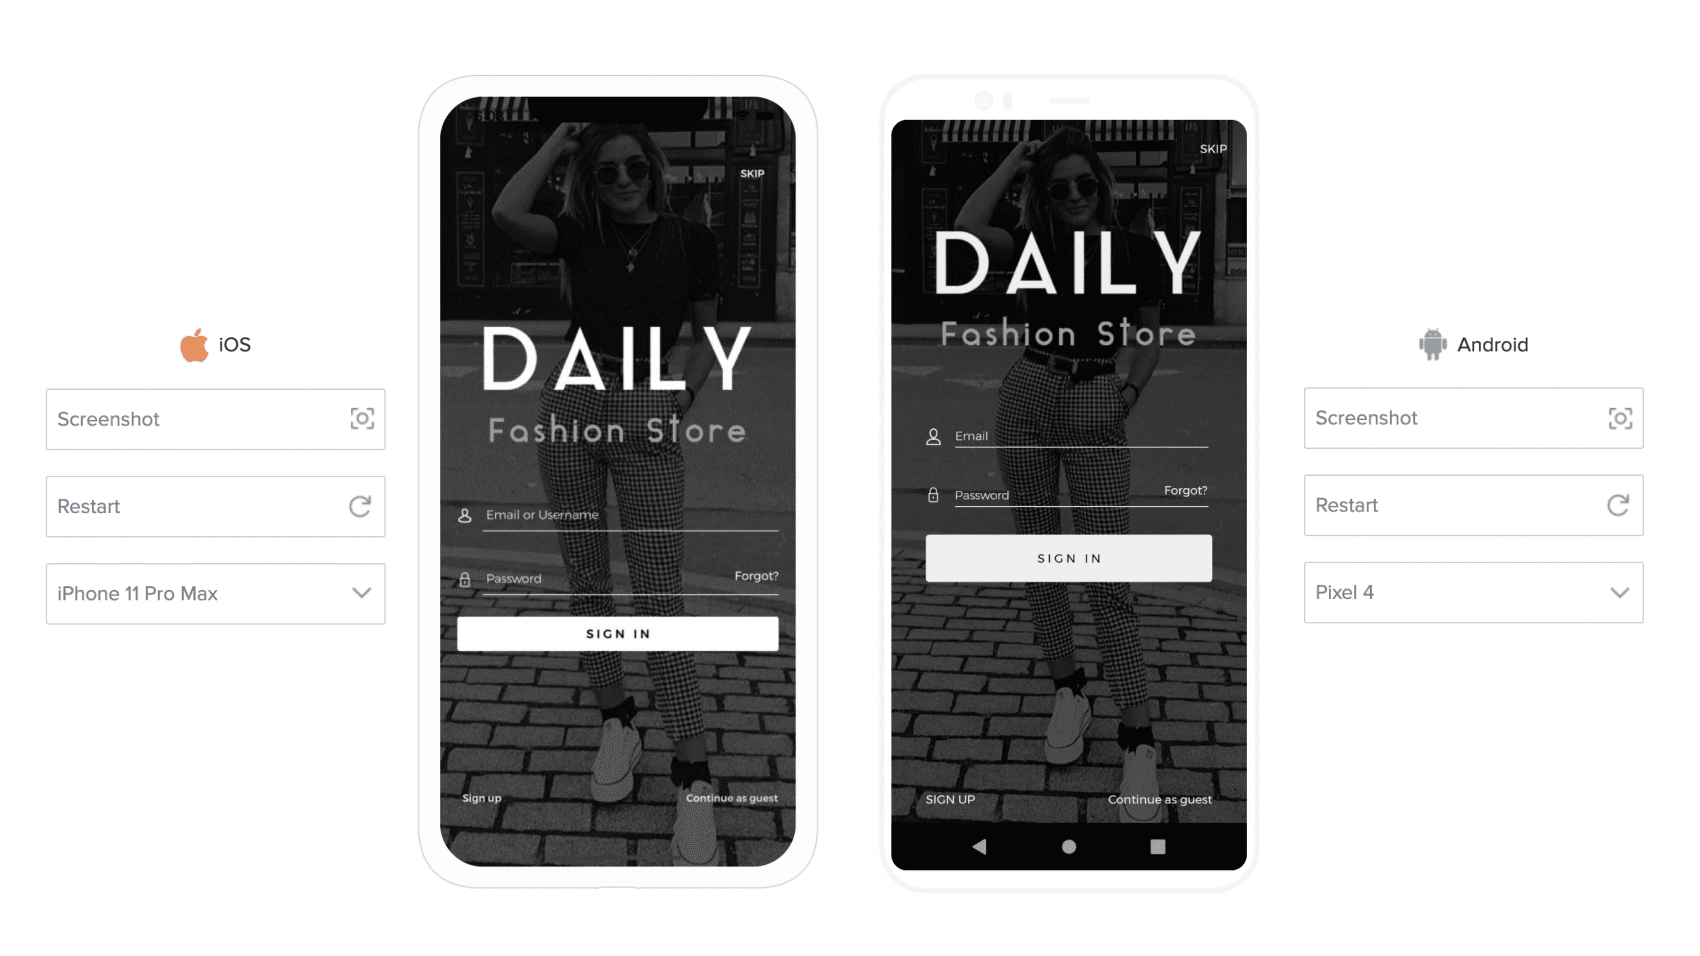
The final step is previewing the home screen. You can preview the app’s design on the live emulator screens on the right or navigate to the dedicated Preview section on AppMySite where you can test the app’s entire look and feel in Android and iOS environments.
Once your home screen is designed, proceed to create the menus and complete the other steps to fully develop your app. Test your apps thoroughly and launch them on their respective app stores.
Suggested Read: Mobile app design – The Complete Guide to Designing a Mobile app
In conclusion
Designing the home screen of an app is a very challenging process. Even when working with an effective free online app creator like AppMySite, you need to have a clear design vision and a penchant for understanding user experience.
This piece breaks down the process of designing a home screen for your WordPress app on AppMySite. You can also leverage a ton of other features on AppMySite on your way to building an app.
You can also use the piece as a guide to design home screens of all other types of apps on AppMySite. Including fully customized apps, WooCommerce apps, and more. Design and develop the app of your dreams and offer a visual treat to your app users.