The age of complicated and expensive app development is almost gone. Or at least, the monopoly of custom app development agencies is now being challenged and how!
DIY and code-free WordPress app builders have democratized app development by making it available for one and all. AppMySite stands out in this league, as it takes the DIY app building experience a step further.
AppMySite has made premium apps affordable for all. In fact, it brings the power of app development at your fingertips as anyone can design premium Android and iOS apps without bothering about codes.
As you make your own apps with AppMySite, our help resources and blogs make your journey furthermore enjoyable and enriched. You can refer to the huge content repository and design your apps effortlessly.
Today, we will tell you about yet another aspect of our app builder that makes app building, customizability, and management easier. Stay tuned with us and know about the App Settings section of the app builder in detail.
Suggested Read: How to create an app in 10 simple steps? Make an app without coding
App Settings on AppMySite: The key to complete control
Let us first tell you what the App Settings feature is!
As discussed above, at AppMySite we are working towards enhancing your experience each day. The app builder has been designed to ensure that your journey is easy and effortless.
It has been categorized into sections like Appearance, Connectivity, App Settings, and more, each having its own significance and contribution in enabling you to design and manage the perfect apps.
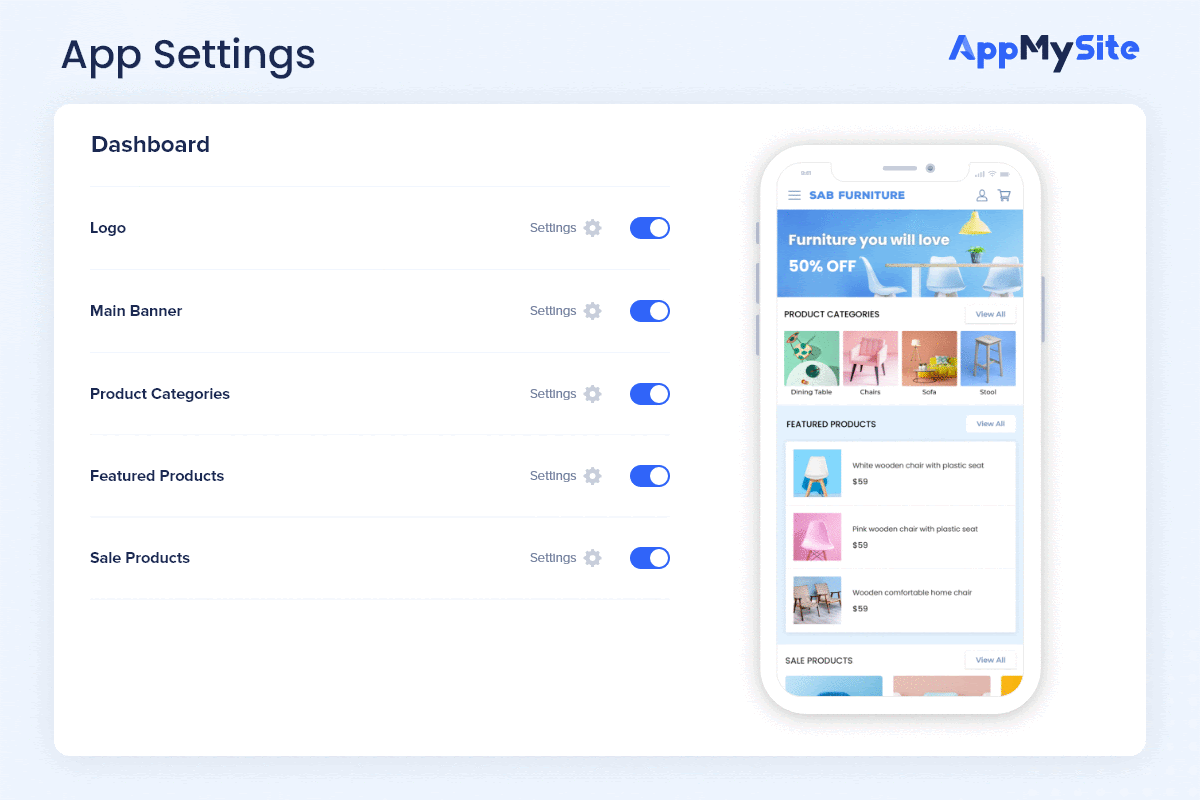
App Settings, as the name suggests, is a set of modules on the app builder that enable you to manage various settings related to the app. You can manage multiple aspects of the app from the app builder itself, and completely control and define your users’ journey based on these settings.
Keep reading as we discuss each setting in detail and tell you all about it. Make the most of this section and design apps that offer a wholesome experience to your users.
General: Manage the primary settings of the mobile app
In this section, you can add related information and manage the basic settings of the app. This includes URL of the website that you are converting into app, CMS Platform, type of the website, business contact related information (phone & email), etc.
Here, you can also link the terms and conditions page of your website that will also be relevant for your app users. If you want to enable the “share app icon” in the app and let users share the app in their circle, you can do it here. All you need, is to turn the toggle on.
Similarly, if you have got the consent form add-on, and you want your app users to comply with certain rules and regulations, you can add a consent pop-up. Enable the consent form pop-up by turning the toggle on and fill in the information.
When you are done, you can click on the save button and proceed to the next setting. It is as simple as that!
Suggested Read: Create apps for any type of WordPress website with AppMySite
App Menu: Design and customize the perfect menu for the app
This section is the most important one as here you design the menu for your app. In order to inspire more conversions, your app must be easily navigable.
Thus, the menu should be designed and customized in a self-explanatory manner. It should lead users from one step to the other and enable easy navigation of the entire app.
As you design your app menu, you can choose from two options. You can either populate your app menu with the default options available on the app builder, or import your menu from the website. You can turn the toggle on for the preferred selection.
If you choose to populate it with the default menu, you can further click on settings and select pages that you want to display in the app. You can also turn on the “Show all” option if you desire to list all the options. Same goes for the menu imported from the website.
Just select the boxes against your choices and you will be good to go. Do not worry! It is simpler that what it looks. Once you are in, our intuitive app builder will guide you through, and it will be a cakewalk.
Bottom Navigation: Enable users to explore the app effortlessly
If you have used any dynamic app that has multiple screens and features, you certainly know what the significance of a bottom navigation bar is. It reduces the load on the app menu and declutters the app real estate for good.
In this section, you can design, customize, and manage the same. Here, you can choose from a list of items to display on the bottom navigation bar of your app.
The fun lies in the customizability! You can personalize the appearance of each icon by modifying its icon design, text label, color and more. Basically, you get all the control you need to customize the bottom navigation bar.
As you design the bottom navigation bar, you can also preview and monitor the changes parallelly on the live-emulator. Thus, you create the perfect app menu and a smooth navigation experience for your users.
Suggested Read: Bottom navigation bar in mobile apps: Here’s all you need to know
App Users: Control how users interact with your mobile app
This is yet another interesting section where you can control and manage how users get onboard and interact with your app. Basically, this includes all the settings related to your users.
Almost everything in this section can be managed seamlessly with toggles. You can pick the feature you want to enable in your app, and turn the toggle on for it.
For instance, you can choose whether you want to open your app for universal user login or not. You can also enable guest browsing and social login.
In this section, you can enable Google login and registration, Apple login and registration and more. You can design the on-boarding experience of your users and make it a remarkable one.
Products: List your products and manage the appearance
If you own a WooCommerce website, then you know that products are the soul of it. Managing products can be a herculean task, but not with AppMySite. Similarly, if you have an e-commerce website built on any CMS platform, AppMySite is the right choice to create a shopping app.
Again, everything can be managed with simple on and off toggle buttons. You can choose to display the discount percentage, related products, additional information section, product filter and sort options, out of stock watermark, and more.
You can also choose to enable product search, grid view and other product related settings. What more? You can import product information from your website and populate all the data automatically by syncing the website and app.
Suggested Read: How to effortlessly manage your shopping app from your WooCommerce website
Checkout: Offer easy and smooth checkout to inspire returns
A smooth checkout plays an important role in amplifying conversions and making your app users’ journey more meaningful. You can customize the in-app checkout process easily with AppMySite.
You can choose to show payment options and reflect every payment gateway available on your website, within the app. You can also enable users to update their profile and delivery related information with ease.
Users can also apply discounts and redeem coupons as they checkout and confirm their order. Therefore, you can make the end-to-end journey smooth and effortless for each and every app user.
Pages: Manage the web-view settings within your native app
AppMySite enables you to create native apps as these are the best in terms of performance and functionality. It ensures that your users get a smooth and meaningful experience.
However, you can also enable the web-view interface to display some website pages within the app. This can be managed under the Page Settings section.
You can also enable links and inputs on your web-view pages. All this can be managed with easy to switch toggle buttons. When done, save the changes and proceed.
Social: Integrate your social media pages with the mobile app
Social media has emerged as a powerful communication and marketing tool in this age. It is important for any business to build a dedicated followership and interact with it on a regular basis.
AppMySite understands this and thus, enables you to integrate your social media handles, accounts, pages, and channels within your app. You can add links to Facebook, Twitter, Instagram, and more.
This list extends to include almost every popular social media platform. You can add a link to your account within the settings section, and display it in your mobile app. Enable users to interact with you on these social media platforms and give a boost to your brand presence and authority.
Suggested Read: Popular mobile app marketing techniques – The complete guide to success

Why wait when you have it all!
This was all about just a section of our dynamic and DIY powered app builder. There is more to it! It has all that you need to create the perfect Android and iOS apps for your website.
You can create affordable, yet powerful, dynamic, and native apps for your WooCommerce and WordPress website. The app builder is absolutely code-free and easy to use.
You can create app that mirrors your website and complements it in terms of design, performance, appearance, and more. What more? You can build, customize, and preview the apps for free!
Yes, you heard it right! Build and test your app first and pay later, only when you are ready to publish your app to the app stores. There is more to it. You can create your subscription and explore our platform for free! So go ahead and join our subscriber family now!
Visit our help center to get a complete guide on managing the settings of your mobile app.