Apple App Store is one of the most popular app stores and is the home to more than 2 million iOS apps. Thanks to the proliferation and growing demand of mobile apps, the number is constantly increasing.
In fact, it has also become easier to convert WordPress to feature rich iOS apps without writing a single line of code. The monopoly of custom app development agencies stands challenged ever since the DIY app builders like AppMySite have emerged.
However, despite all the perfection, not everything is a piece of cake in the Apple universe. Compiling essential documents, certificates, etc., for app submission and then finally publishing the app to the app stores can become a daunting task.
Do not worry, we are not here to intimidate you but to help you. Today, we will tell you how you can gather and list all the essential certificates and fulfil the requirements for publishing an iOS app in a simple and smooth manner.
While you are at it, you can also check out our other blog (suggested below) where we have discussed the checklist for submitting Android apps to the Google Play Store.
Suggested Read: The Google Play Checklist: Everything you need to submit your app to Google Play
Checklist and step-wise guide for iOS app submission
Now let us cut to the chase and discover the step by step guide for adding essential information to the app store and uploading your iOS app. Let us begin!
#1: Create an Apple ID
(Skip this step if you already have an Apple ID)
Navigate to the Apple Developer website and create an Apple ID. You will need to enter the basic details such as:
- First name and Last name
- Country
- Birthday
- Email ID (This will be your new Apple ID)
- Password
You will also need to answer some security questions at this point. Enter all the information correctly and proceed.
#2: Activate two-factor authentication
Now that you have an Apple ID, go ahead, and enable two-factor authentication. This is a necessary requirement for all Apple IDs.
You can easily set up two-factor authentication with an iPhone, iPad, or an Apple computer, as described below:
a. Set up using iPhone or an iPad
Follow these steps for setting up two-factor authentication with an iPhone or an iPad:
- Click on Settings << your Name at the top << Password & Security
- Next, tap on Two-Factor Authentication to turn it ON
Here, a few security questions might be prompted, that can be answered easily. Follow the instructions on the screen and answer those questions.
b. Set up using Apple Computer
Follow these steps to set up the two-factor authentication on an Apple computer:
- Go to Apple Menu << System Preferences
- Click to open iCloud << Account Details << Security
- Click on Two-Factor Authentication to turn it on
Note: If you do not have an Apple product to set up two-factor authentication, then reach out to the Apple support team and seek their help to set it up on a non-Apple product.
#3: Join the Apple developer program
Go to the developer home page and sign in to your Account using your Apple ID. Next, you will arrive at the Apple Developer Agreement that you can read through and agree to.
As you click on the Join the Apple Developer Program you will be redirected to the Apple’s program page where you can click on Enroll and join the program. You can enroll either as an individual or an organization.
a. Enrolling as an Individual
If you enroll as an individual, you will only be allowed a single primary login with one account. The developer’s name will be public on the Apple App Store. This should be chosen if the app is solely branded to you.
b. Enrolling as an Organization
We highly recommend enrolling as an organization as it will unlock more benefits and features when compared to an individual account. It is most suitable for businesses, companies, and organizations. Enrolling as an organization also enables multiple user logins and the app store displays the business name instead of any individual developer’s name.
However, enrolling as an organization will require a D-U-N-S number. It is a unique combination of nine-digit numbers that is assigned by Dun & Bradstreet and is widely used as a standard business identifier. Apple requires this information to verify your organization’s identity and legal entity status.
If you do not have a D-U-N-S Number, then get one for your organization here. Enrolling for and getting a D-U-N-S Number may take a few weeks to process. Once you have the number, you can enter it and start your enrollment process.
During this process, you will need to confirm your Apple ID information and enter the email, name, and country information.
Next, you will have to select the relevant entity type from the following options:
- Individual / Sole Proprietor / Single Person Business
- Nonprofit Organization
- Accredited Educational Institution
- Company / Organization
- Government Organization
Next, you can fill out the contact information for your account and proceed.
Sign license agreement and pay the registration fee
Once all the information is filled out, go ahead and checkout Apple’s license agreement. After reviewing the Apple Developer Program License Agreement, you can check the box to agree and click on Continue.
Proceed to the payment gateway and pay the registration fee. Next, you will have to wait for a payment approval email from Apple. This may take up to 24 hours as well.
Now you will be prepared to submit the IPA files to be published on the Apple App Store.
#4: Create an App Store listing
The prerequisite of submitting an app stands almost complete by this step. The next part requires you to fill an app listing on your App Store Connect account.
Go to iTunes Connect and proceed to open the My Apps section and navigate to the overview of apps. Here, you can add a new app by clicking on the + symbol and entering the required information.
You will need to enter the following details before listing your app:
- App Name
- Primary Language of the app
- Bundle ID created earlier
- SKU (It is the unique code identifier for the app. You can keep the SKU same as the Bundle ID for convenience)
When added, you can click on the Create button to complete the first step of creating an app listing.
#5: Submit app information
Once the app listing is created and the test flight has been uploaded navigate to the App Information section on your App Store Connect account. Here you will need to add some essential artwork, creative copies and other significant details. This may include the following:
- App Icon: Create a stunning icon for your app as it will be displayed on the app stores and also appear on your users’ devices.
- App Name: Pick a suitable name for your app that resonates your brand identity and agrees with your goals and messaging.
- Description: Checkout the guidelines and format for app store listing descriptions and create your own compelling copy. You can refer to some competitor app listings and get an idea as you prepare your own copy for the description.
- Keywords: Create a list of relevant tags and keywords that you can use on the app store. It will help your app’s searchability and make it more discoverable if you use the keywords in a strategic and optimized manner. You can add the keywords and separate them with comma.
- Categories: Know which primary and secondary category your app should be listed in.
- App Ratings: You can answer a questionnaire and get ratings for your app.
- Screenshots: Take screenshots from within the app estate and optimize the design to list the screenshots on the app store. Do not forget to highlight the critical features of the app and convey important information to users.
- Preview Video: While creating a preview video might not be mandatory, it can offer extra mileage to your app on the store. Create a short but captive preview video for your app and add it alongside the screenshots.
- Privacy Policy URL: Prepare your privacy policy page as you will need to add this URL with your listing.
- Support URL: You will also need a support URL so set up a page or community accordingly.
- Marketing URL: Set up your marketing pages and have an URL that you want to add to the app store listing page.
- Copyright: Prepare your copyright information copy as you will also need to add this to your listing.
- Contact Information: Set up a professional contact channel and add the information when required.
- Demo Account: You will have to give the login credentials for a demo account to the approvers at the app store. This includes the username and password of an account with complete access to your app.
- App Project: Most importantly, you will need a full-fledged and ready to publish iOS app build that complies with the Apple App Store guidelines. So, sign up for AppMySite and make your own iOS app if you want.
Suggested Read: How does App Store Optimization differ for Google Play and Apple App Store?
The app information submission process is segmented into the following sections.
- App Information
- Pricing and Availability
- Prepare for Submission
Let us go through them one by one:
App Information
Here you need to submit the basic information related to the mobile app. This includes:
- Name
- Privacy Policy URL
- Subtitle
- Bundle ID
- Primary Language
- SKU
- Category
- Apple ID
- Age Rating (age range of people for whom the app is suitable)
- License Agreement
Next, define the user access so that you can control and limit the app access, and proceed to pricing when done.
Pricing and Availability
In this section, define the pricing and demographic availability of your mobile application by clicking on the Pricing and Availability button on the left menu. Here, you will need to add the following information:
- Price Schedule: Choose to keep your app free or add the price for different countries.
- Pre-Orders: Select if you want to make your app available for pre-ordering and notify users automatically upon launch.
- Availability: Show app in all countries or choose the preferred locations.
- Distribution of Business and Education: Select the distribution model for your app.
Finally, click on the Save button on the top right and save the settings.
Preparing for submission
Next, click on the Prepare for Submission button on the left menu. For this, you will need all the essentials that we have listed above.
This is segmented into the following sections.
- Version Information: Add the version information.
- iMessage App: This is only applicable for apps using the Messages framework.
- Apple Watch: Only required for apps supporting Apple Watch.
- Build: Add the IPA file (app build) here.
- General App Information: Enter general information related to the app, as required.
- Game Center: Enable this toggle for the app to be available in the App Store Game Center (not required for eCommerce, blogging or other apps).
- App Review Information: Here, submit information for the app review team regarding your mobile application.
- Version Release: Schedule the manual or automatic release of the app.
These steps may branch out to several more steps where you will need to add some more information. For instance, you will have to define the language, add previews and screenshots, promotional text, description, keywords, support URL, marketing URL, etc., for the app as described above.
When done, click on Submit for Review in the top right corner. You will be taken back to the app listing now and the status should have changed to Waiting for Review. The approval process may take two to three weeks (if the app does not get rejected).
That’s it. The submission process of the app should be complete by now. You can go live on the app stores as soon as you get the approval. To submit a new version, you will only need to go through some of the steps listed above in the final section. Celebrate when your app goes live and do not forget to endorse it and attract a huge number of downloads.
Suggested Read: Avoid getting rejected by Apple App Store: Find ways to make a comeback if you do
Build & deploy your iOS app effortlessly with AppMySite!
Need a makeover for your app? Why not build a new one in the budget of a makeover? Subscribe to AppMySite and create a mobile app with AppMySite’s free mobile app builder.
Here, you can build, customize, and preview your app without writing a single line of code. Point and add features as per your website. For instance, you can add blogs, products, optimize categories and more.
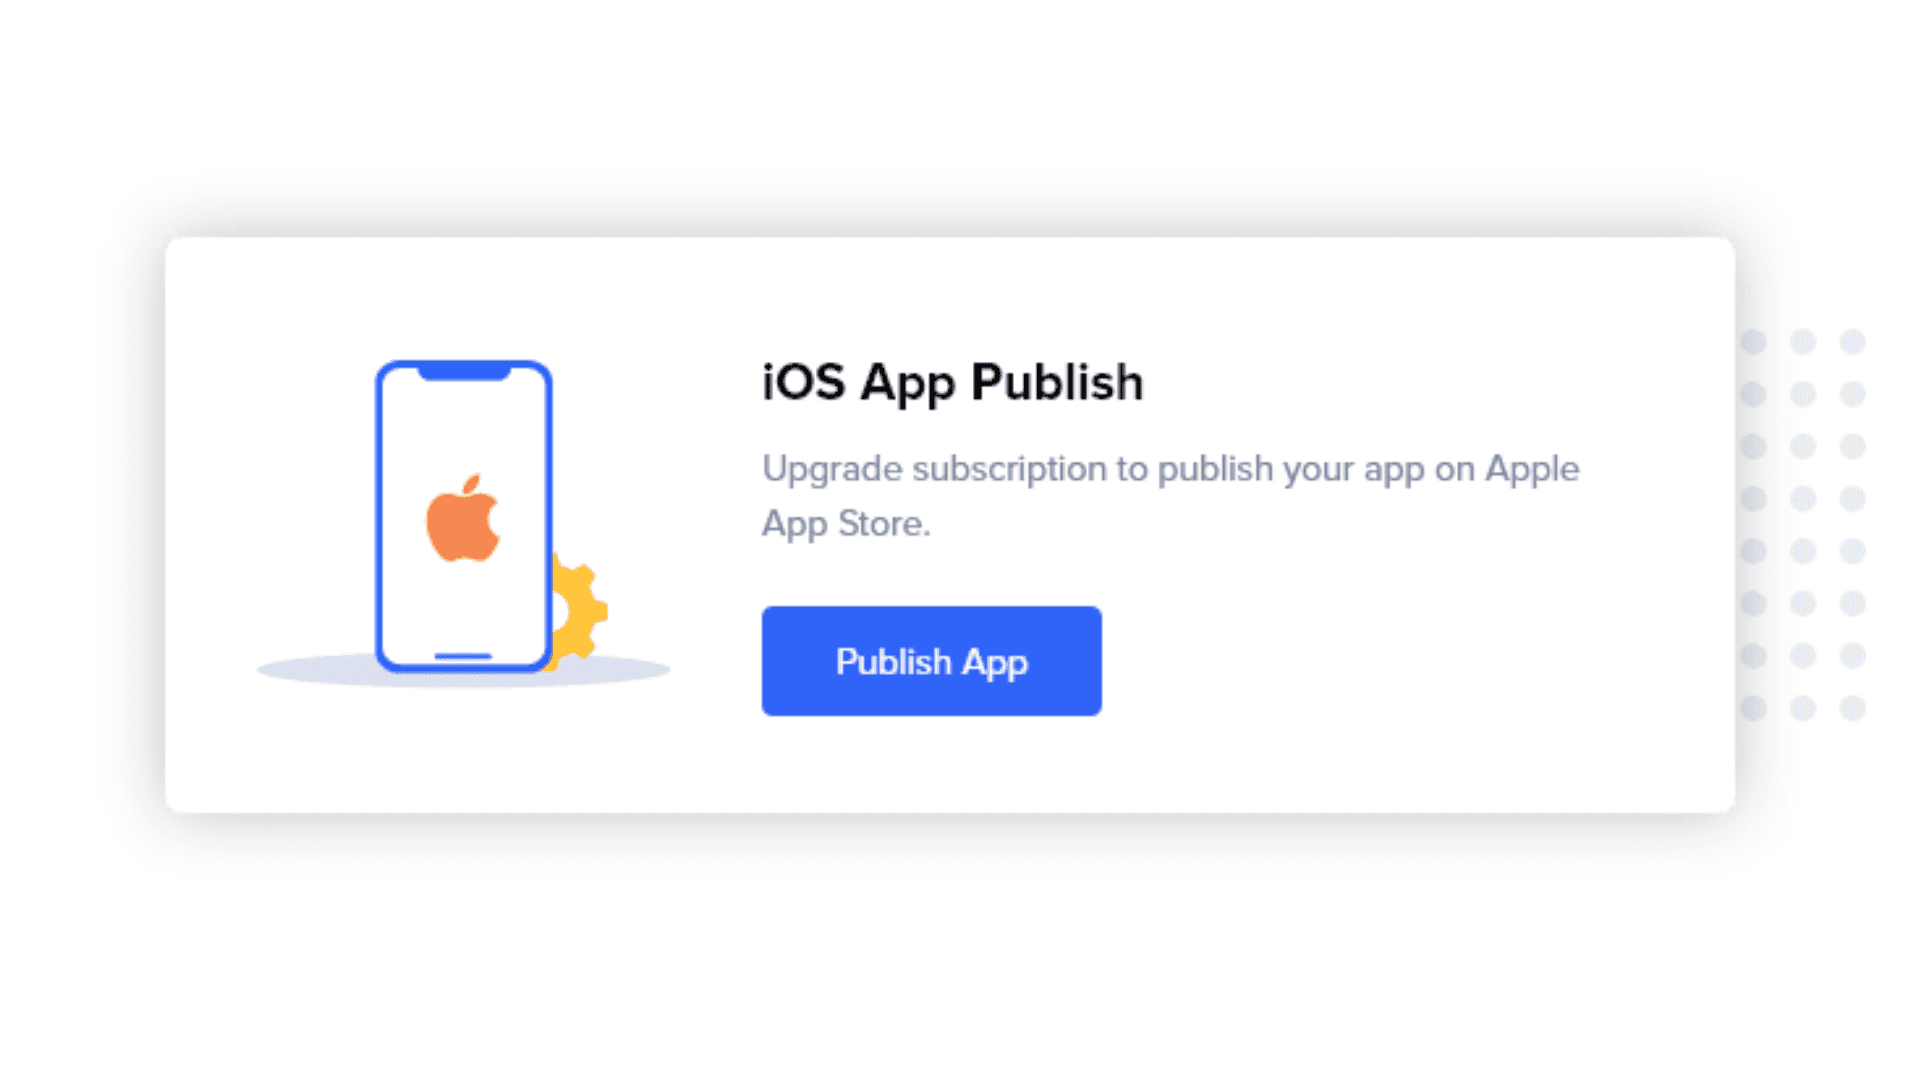
Additionally, AppMySite is one of the very few platforms that also enables you to automatically publish the iOS app on the Apple App Store. You can deploy the app to the store with the on-site submission feature and streamline the entire process of app publishing.
Submitting iOS apps on the Apple App Store requires a lot of effort and preparation. If you want to achieve it yourself, you can refer to the detailed guide by AppMySite . We have the end-to-end process covered in our documentation. Else you can also use our “Upload to App Store” service and let our experts take care of it.
So, what are you waiting for? Go ahead and build your own app with AppMySite. The solution makes Android app development and iOS app development possible, without coding.